
When it comes to crafting the ultimate costume helmet, there’s a bit of a friendly rivalry in the cosplay world: Foam versus 3D printing. Each method has its ardent supporters and its unique set of benefits. Whether you’re a seasoned cosplayer or just starting out, understanding the differences between these two approaches is key to choosing the right one for your project. So, let’s dive into the exciting realm of cosplay helmet creation!
Key Takeaways
Foam helmets are cost-effective and easier to manipulate for beginners.
3D printing allows for intricate detail and customization but can be costlier.
Time investment varies significantly between foam crafting and 3D printing.
Both materials require different sets of tools and skills for successful crafting.
Ultimately, the choice between foam and 3D printing depends on your budget, skill level, and the specific needs of your costume.
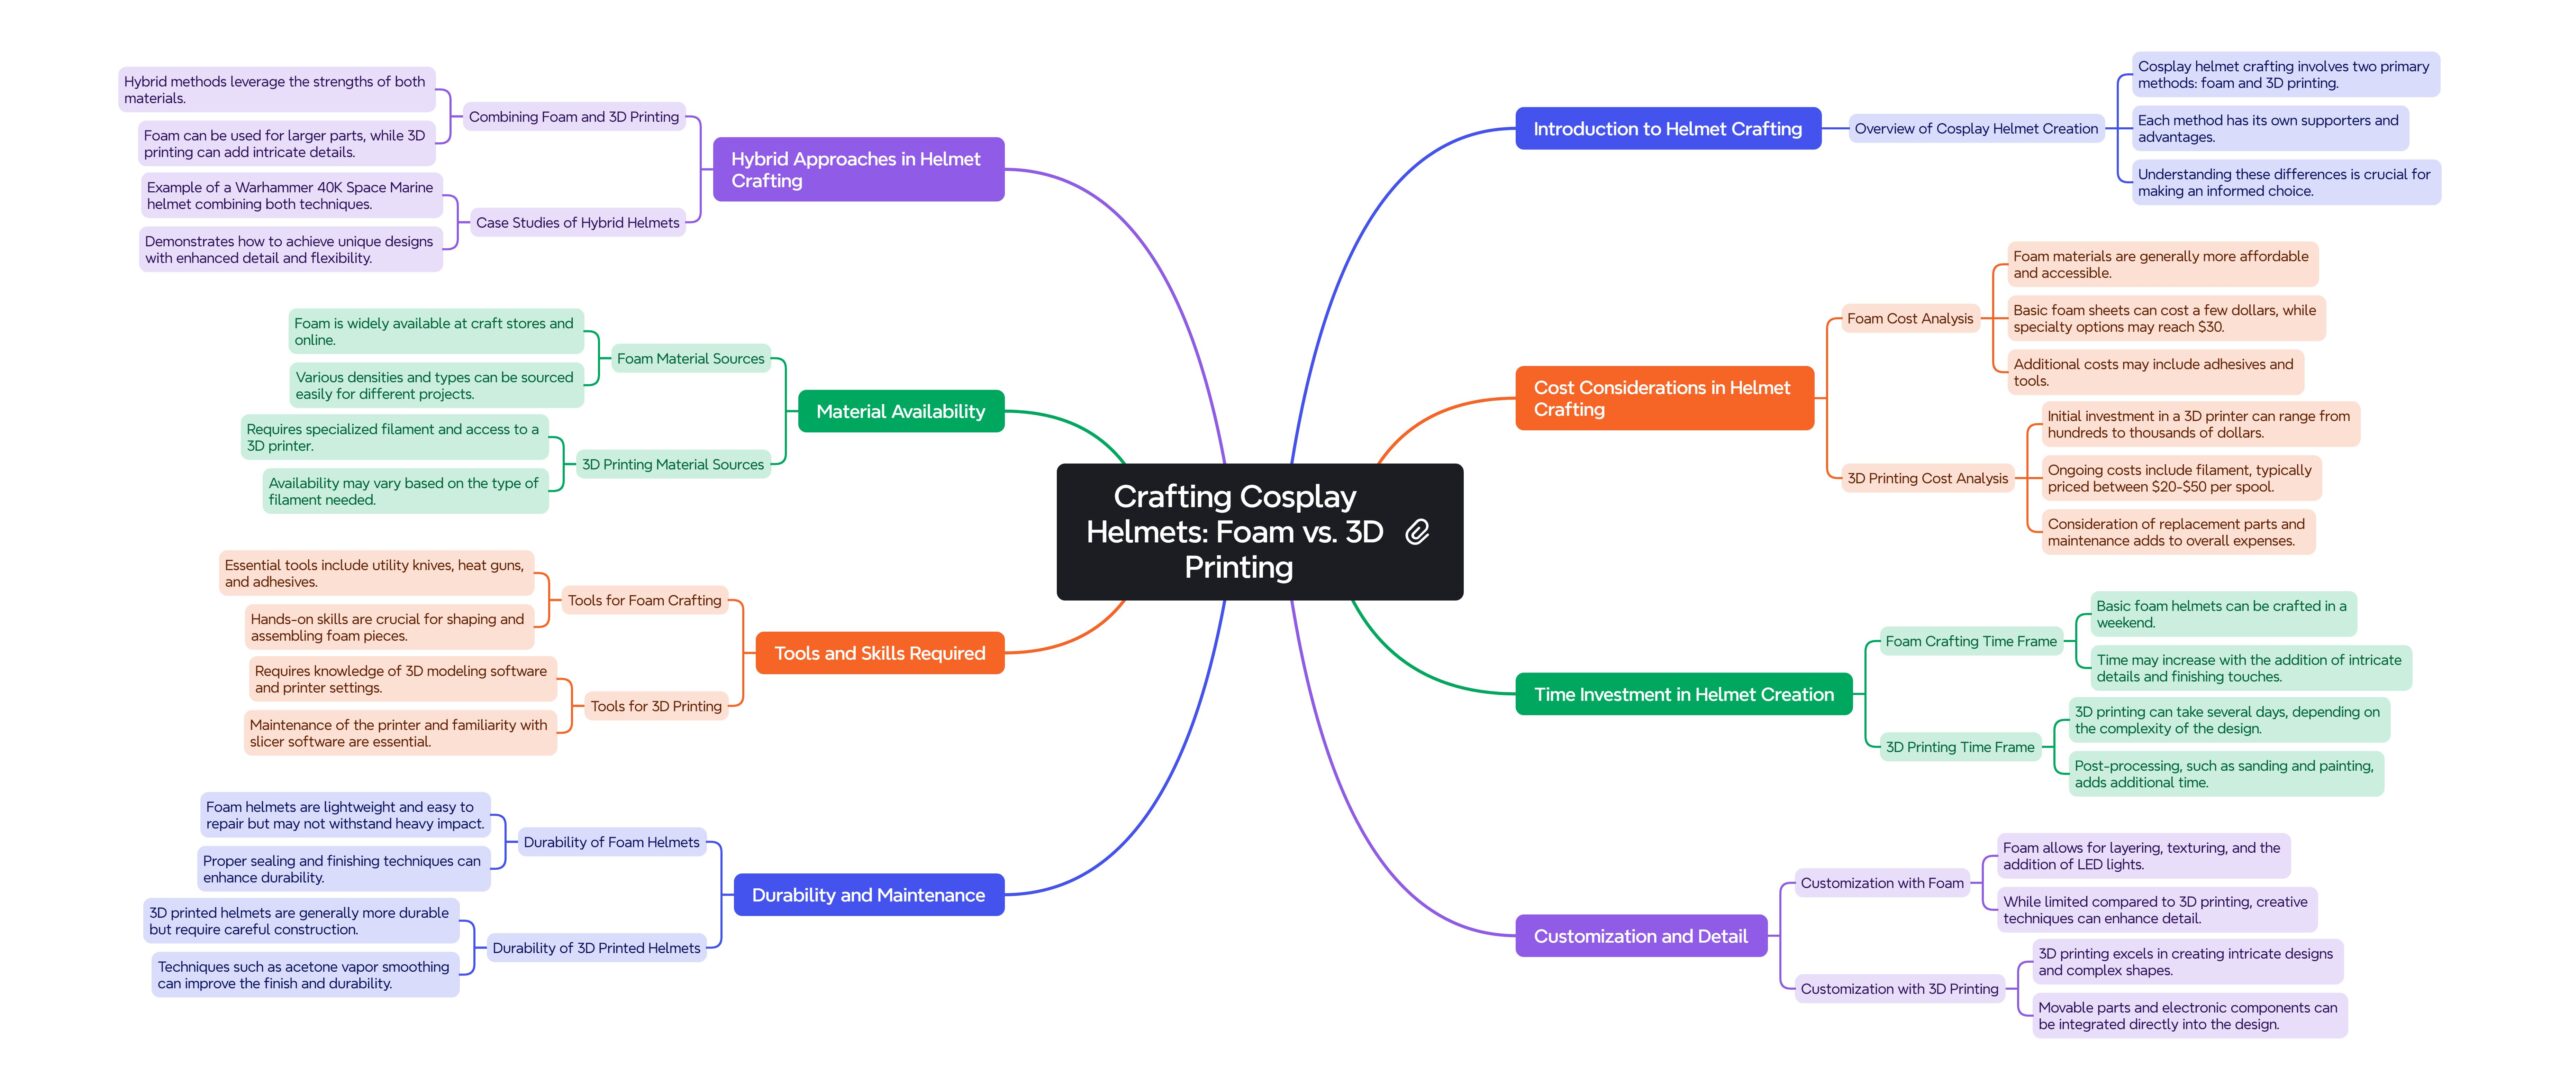
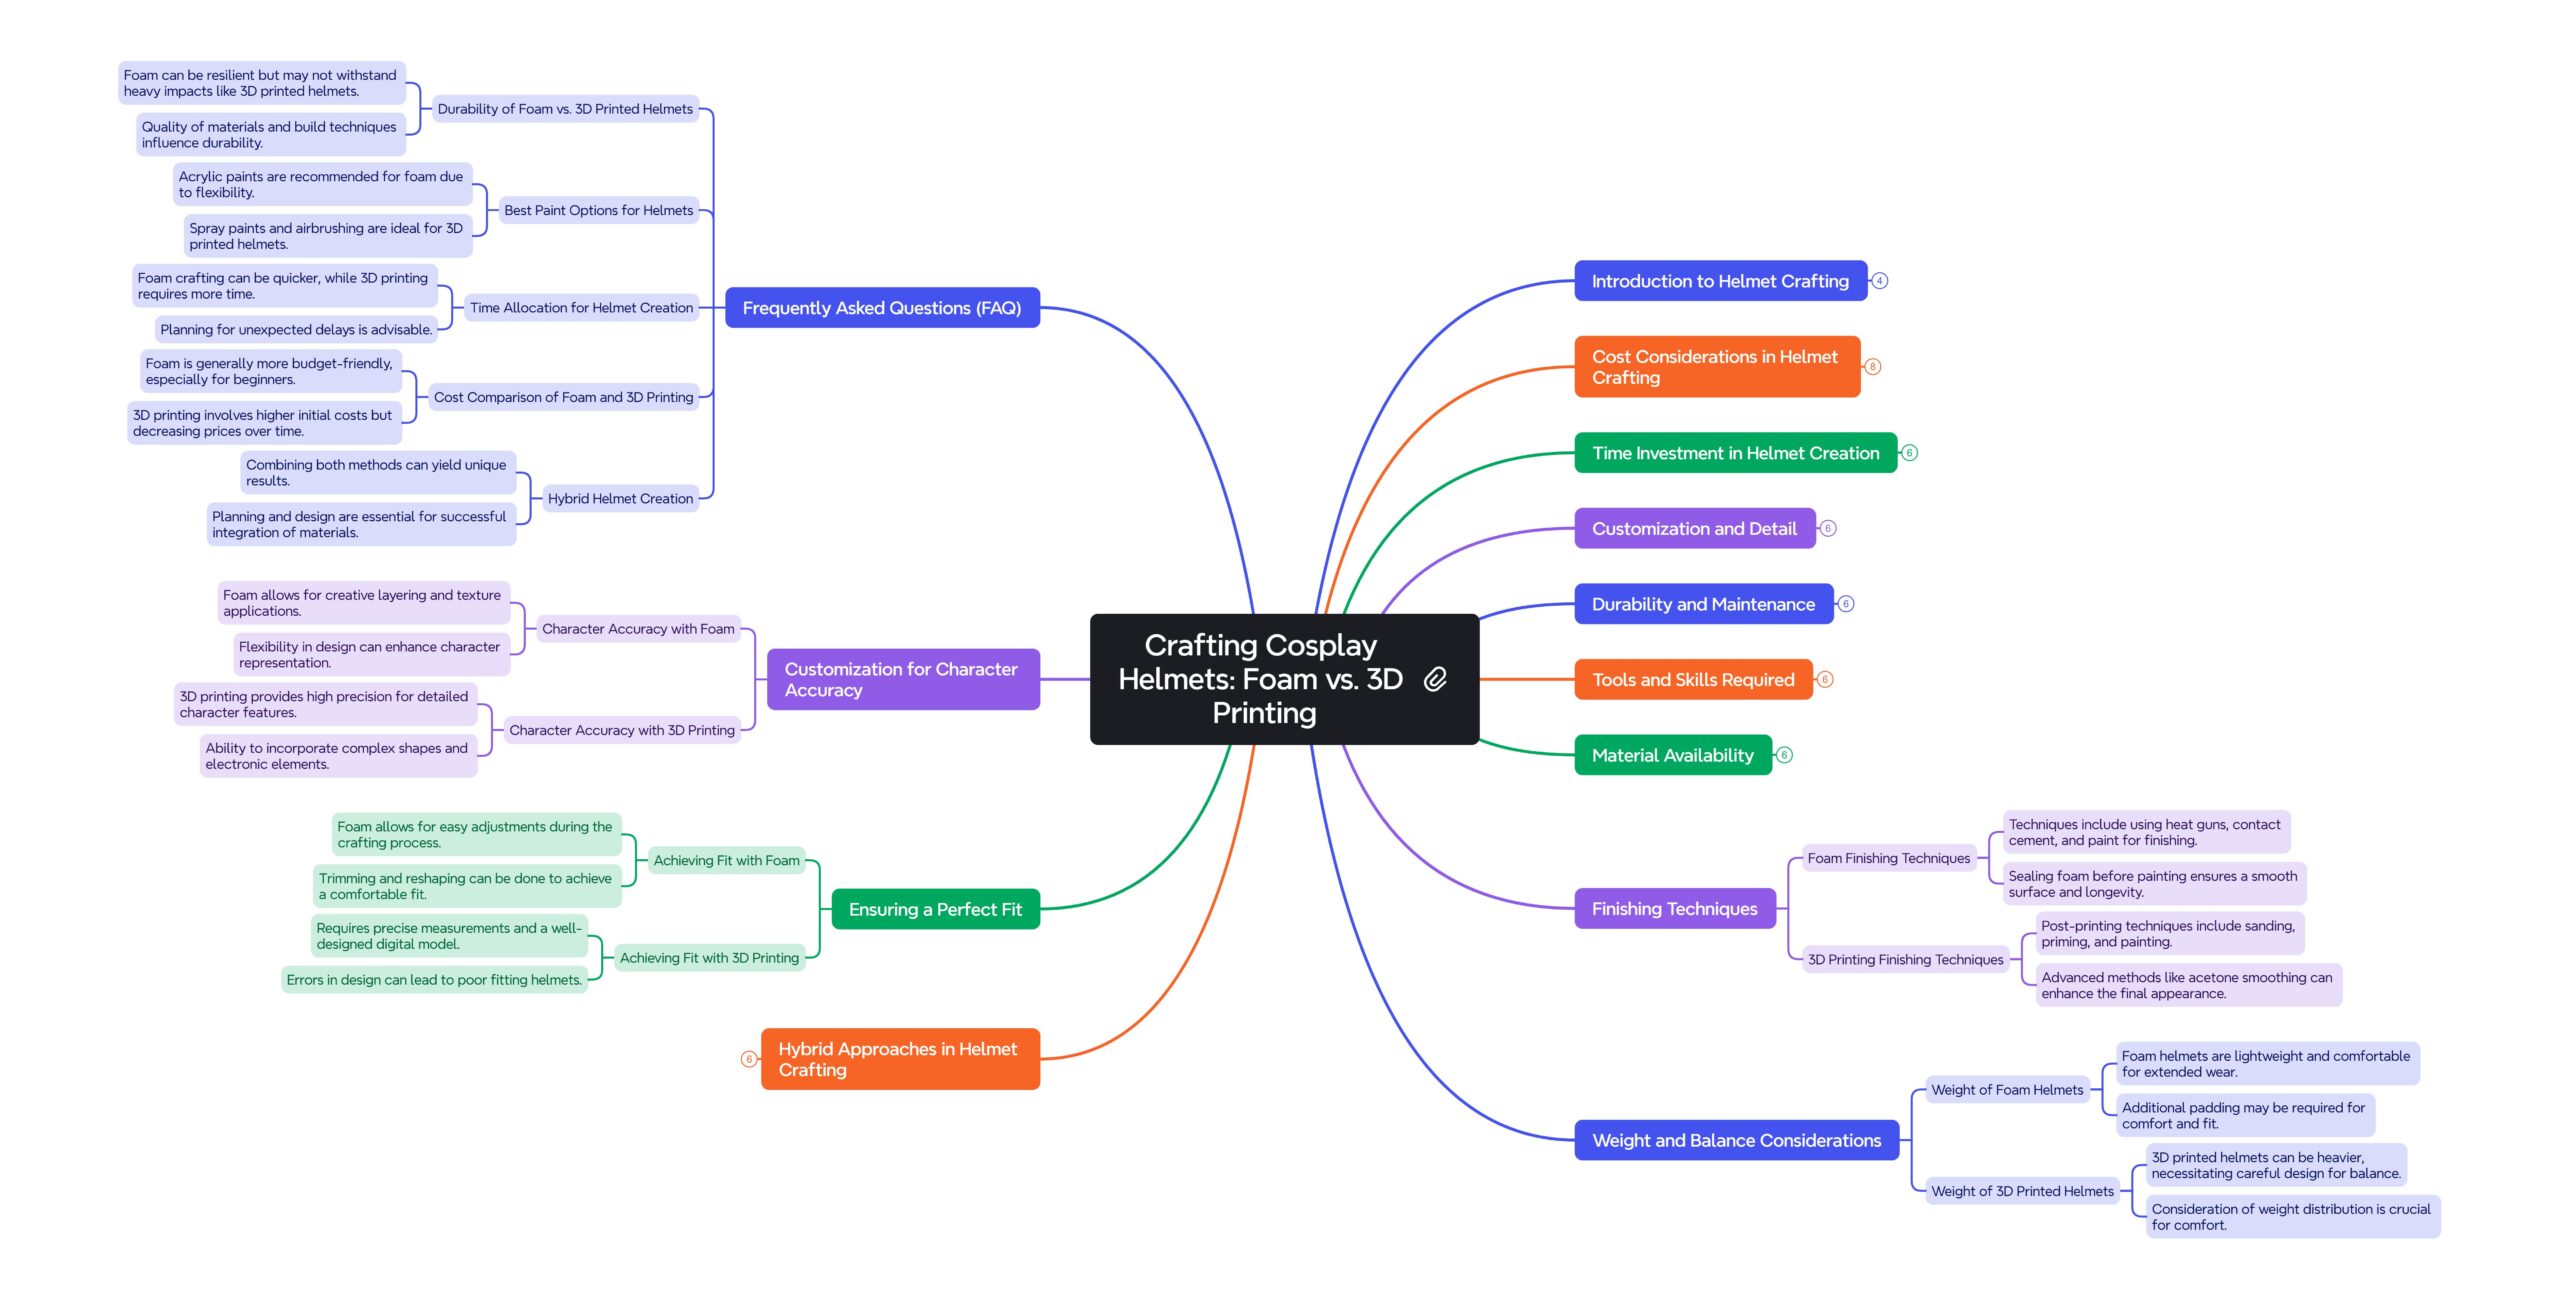
Foam vs. 3D Printing for Costume Cosplay Helmet Creation Comparison
|
Category |
Foam |
3D Printing |
|---|---|---|
|
Cost |
Generally, cheaper materials are available at craft stores or online |
Initial investment in printer and filament, ongoing costs for replacement parts and tools |
|
Time Investment |
Quick to craft, basic helmets can be completed in a weekend |
A longer process, printing alone can take days, and post-processing adds additional time |
|
Customization |
Limited, but can add layers, textures, and LED lights |
High level of customization, intricate details, and complex designs possible |
|
Durability |
Lightweight, easy to repair, but may not withstand impact |
More durable but requires proper build and finishing techniques |
|
Tools and Skills |
Hands-on requires cutting tools, heat guns, and steady hand |
Digital design requires an understanding of 3D modeling software and printer settings |
|
Material Availability |
Widely available at craft stores or online |
Requires specialized filament and printer |
|
Finishing Techniques |
Use of heat guns, contact cement, and paint |
Use of acetone vapor smoothing, dual extruder printing, and infill percentage adjustment |
|
Weight and Balance |
Lightweight, easy to wear, but may require additional padding |
It can be heavy and requires careful design and balancing |
|
Hybrid Options |
It can be combined with 3D printing for intricate details |
It can be combined with foam for larger, more flexible parts |
This table highlights the main points of difference between foam and 3D printing for costume cosplay helmet creation, including cost, time investment, customization, durability, tools and skills, material availability, finishing techniques, weight and balance, and hybrid options.
Crafting Your Epic: Foam vs. 3D Printing for the Perfect Costume Helmet
Cost Considerations in Helmet Crafting
Before you start your helmet-making journey, it’s crucial to consider your budget. Foam is generally more wallet-friendly, with materials easily available at craft stores or online. You’re looking at costs ranging from a few dollars for basic foam sheets up to maybe $30 for higher-density options and specialty adhesives. On the other hand, 3D printing can be a bit more of an investment. Printers themselves can range from a couple of hundred dollars to several thousand, plus the ongoing cost of filament, which typically costs around $20-$50 per spool, depending on quality.
Materials and Techniques Overview
Each helmet-making method has its own set of required materials and techniques. Foam crafting is hands-on, requiring cutting tools, heat guns, and a steady hand. 3D printing, however, leans heavily on digital design, with the bulk of the hands-on work happening post-printing during the cleanup and finishing stages. It’s a blend of the artistic and the technical, and your choice will hinge on where your interests and skills lie.
But let’s not get ahead of ourselves. The first step in your helmet crafting adventure is to pick a lane: foam or 3D printing. Let’s look at both options more closely.
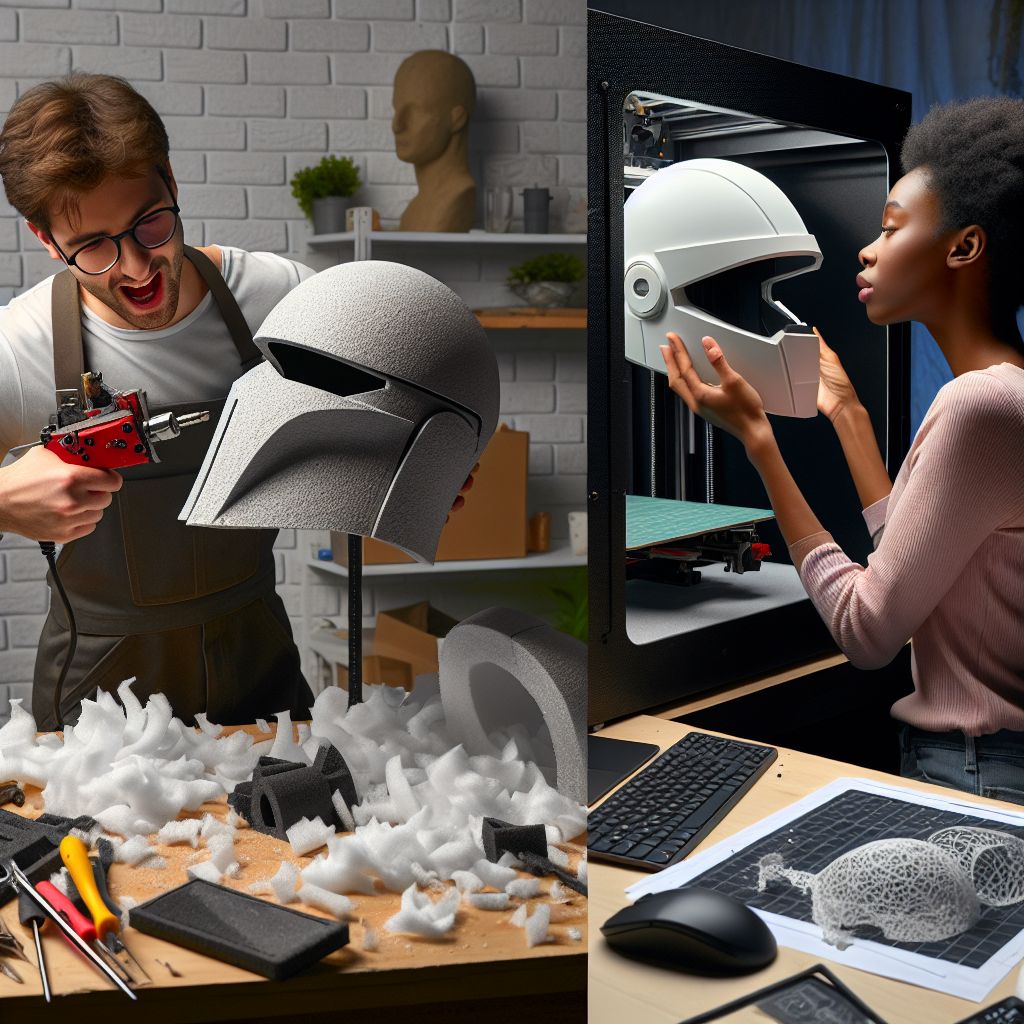
Your First Steps: Choosing the Right Method
Getting to Know Foam
Foam is the go-to material for many cosplayers, especially those just dipping their toes into the world of costume creation. It’s forgiving, easy to cut, and, with a little practice, can be shaped into just about anything. Most importantly, foam helmets are lightweight, which is a huge plus when you’re wearing them for hours on end at a convention.
Diving into 3D Printing Basics
If you’re tech-savvy or eager to learn, 3D printing offers a world of possibilities. It’s all about precision and the ability to replicate complex designs that might be tough to achieve with foam. However, there’s a learning curve. You’ll need to understand 3D modeling software and printer settings to get the results you want.
The Foam Approach: Cutting, Shaping, and Finishing
Essential Tools for Working with Foam
Sharp utility knives or rotary cutters for clean cuts.
Heat guns for shaping and molding foam into curves and contours.
Contact cement or hot glue to securely bond foam pieces together.
Let’s kick things off with foam helmet crafting. Your mission, should you choose to accept it, involves transforming flat foam sheets into a three-dimensional masterpiece. It’s like origami but cooler and more badass because, in the end, you’ll have a helmet.
Creating Your Helmet Template
The blueprint for your helmet is a template. You can find these online or create your own if you’re feeling adventurous. Once you have your template, transfer it onto the foam, and then it’s time to cut. Precision is your friend here; a clean cut makes for a cleaner-looking helmet.
Shaping and Manipulating Foam
After you’ve cut out all your pieces, the heat gun comes into play. Heating the foam makes it pliable, allowing you to bend and curve each piece to fit the contours of your design. It’s like magic but with foam and heat.
And then, it’s assembly time. Using contact cement or hot glue, you’ll start piecing together your helmet, watching as it evolves from a pile of foam into something wearable.
Detailing and Finishing Techniques
The devil’s in the details, as they say. Adding texture, battle damage, or intricate designs can make your foam helmet look like it’s straight out of a movie. Use a Dremel for engraving lines or creating patterns, and don’t forget to seal your foam before painting. This will give you a smooth surface to work with and help your paint job last longer.
Remember, the goal here is to inspire you to create something incredible. Whether you choose foam or 3D printing, you’re on your way to making a costume helmet that will turn heads.
Mastering the Art of 3D Printing a Helmet
For those who love precision and customization, 3D printing is the way to go. The process begins with a digital model and ends with a physical object that can feature intricate details and complex designs. However, mastery of this technique requires patience and a willingness to learn. Let’s explore how you can bring your digital helmet designs to life.
Firstly, 3D printing a helmet isn’t as simple as pressing a button. It requires a solid understanding of both the software and the hardware. The process can be broken down into designing, printing, and post-processing. Each step is critical to ensure your helmet isn’t just good-looking but also wearable and durable.
As you embark on this journey, remember that the 3D printing community is incredibly supportive. There are numerous forums, tutorials, and groups willing to help you troubleshoot issues and perfect your technique. So, even if you’re new to the game, don’t be afraid to reach out and ask for advice.
Selecting a 3D Printer for Your Helmet Project
Choosing the right 3D printer is like picking the right sword for battle; it can make all the difference. You’ll want to consider factors such as build volume, print speed, and material compatibility. For helmet printing, a printer with a large build volume is ideal, as it allows you to print bigger pieces, reducing the need for assembly.
Research is your ally here. Look into printers that have a track record for reliability and quality. Remember, the cheapest option isn’t always the best. Investing in a mid-range printer can save you a lot of headaches down the line.
3D Modelling Software Options
The next step is designing your helmet, which you’ll do using 3D modeling software. There are several options out there, from beginner-friendly programs like Tinkercad to professional-grade software like Blender or Autodesk Fusion 360. Choose one that matches your skill level and the complexity of the design you’re aiming for.
The Printing Process
Once your model is ready, it’s time to print. Here’s a simplified breakdown of the printing process:
Prepare your 3D model using slicer software, which converts the model into instructions for your printer.
Load your filament, making sure it’s the right type and color for your helmet.
Begin printing and monitoring the process for any issues like warping or misalignment.
Patience is essential during printing, as helmet components can take many hours to complete. Use this time to plan your post-processing steps or to start on other parts of your costume.
Post-Printing: Cleanup and Detailing
After your helmet has been printed, it’s time for cleanup. This includes removing any support material and sanding down rough edges. It’s a bit like sculpting, gradually refining the raw print into a smooth, finished product.
For painting, priming your helmet is a must. It helps the paint adhere better and gives you a more vibrant finish. Take your time with this step; a rushed paint job can undermine all your hard work.
Beyond Basics: Advanced Tips for Helmet Perfection
Once you’ve got the basics down, it’s time to level up your helmet crafting skills. Advanced techniques can add realism and durability to your creations, whether they’re made from foam or printed in 3D.
For foam helmets, consider using a rotary tool to engrave deeper lines and add more intricate details. Experiment with different types of paint and finishing techniques to achieve a look that’s truly your own.
Upgrading Your Foam Helmet
Here are some tips to take your foam helmet to the next level:
Use a high-density foam for areas that require more rigidity.
Experiment with layering foam to add depth and dimension to your design.
Apply a plasti-dip coat before painting to create a smooth, even surface.
These small touches can make a significant impact, transforming your foam helmet from a simple costume piece to a standout prop with a professional finish.
Taking Your 3D Print to the Next Level
For 3D-printed helmets, here are a few advanced techniques:
Use acetone vapor smoothing for ABS prints to achieve a glass-like finish.
Consider using a dual extruder printer for multi-color prints or for using dissolvable support material.
Enhance durability by adjusting the infill percentage and wall thickness in your slicer settings.
With these tips, your 3D-printed helmet will not only look incredible but also stand up to the wear and tear of cosplay events.
Pros and Cons in Action: Seeing Both Sides
Every cosplayer’s journey is unique, and so is their choice of crafting material. Foam and 3D printing each have their pros and cons, and understanding these can help you make an informed decision.
Potential Pitfalls and How to Avoid Them
Working with foam, you might encounter issues like tearing or misshapen pieces. To avoid these, always use sharp blades for cutting and don’t rush the heating and shaping process. When it comes to 3D printing, common pitfalls include printer jams and poor adhesion. Regular maintenance of your printer and proper bed leveling can mitigate these issues.
Ultimately, whether you choose foam or 3D printing, the most important thing is to enjoy the process. Cosplay is about bringing your favorite characters to life and sharing your passion with like-minded individuals. So, pick your material, hone your skills, and let your creativity run wild. Your epic costume helmet awaits!
Specific Examples: Applying Foam Crafting and 3D Printing Techniques:
Example 1: Foam Crafting a Mandalorian Helmet
A cosplayer decided to create a Mandalorian helmet using foam crafting techniques. They started by creating a paper template based on reference images and their head measurements. They then transferred the template onto EVA foam, cut out the pieces, and used a heat gun to shape the foam into the desired curves and contours.
To add detail, they used a Dremel tool to engrave panel lines and weathering effects. They sealed the foam with Plasti Dip and then painted the helmet using a combination of silver, black, and brown acrylic paints to achieve a battle-worn look. Finally, they added a tinted visor and foam padding for a comfortable fit.
This example demonstrates how foam crafting can be used to create a detailed and accurate cosplay helmet with a relatively low cost and minimal tools.

Example 2: 3D Printing an Iron Man Helmet
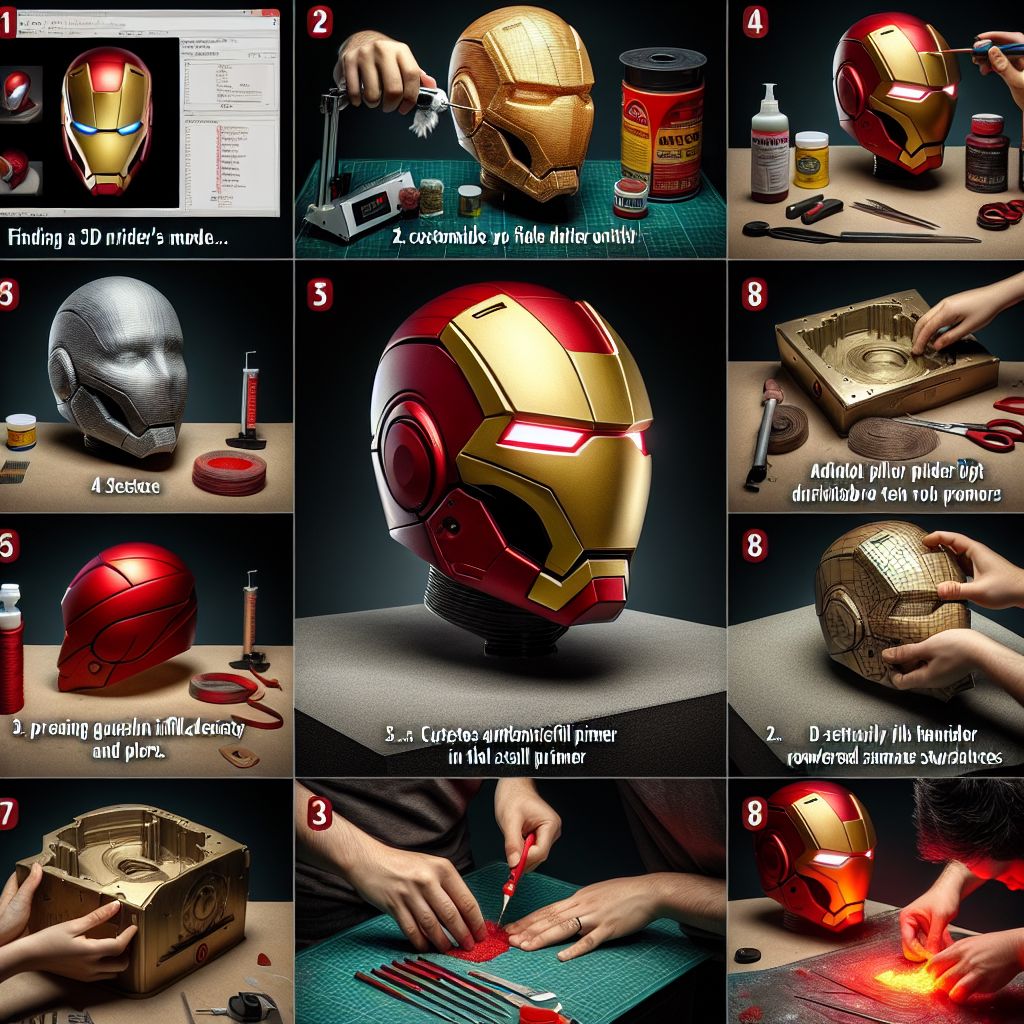
A cosplayer opted to 3D print an Iron Man helmet to achieve a high level of accuracy and detail. They started by finding a 3D model of the helmet online and then used Blender to customize the model to their specific head measurements.
They then used a slicer program to prepare the model for printing, adjusting settings such as infill density and support structures. The helmet was printed in several parts using red and gold PLA filament on a mid-range 3D printer.
After printing, the cosplayer sanded the helmet pieces to achieve a smooth surface and then used automotive filler primer to fill in any remaining imperfections. They then painted the helmet using metallic red and gold spray paints and finished with a clear coat for protection.
To add extra detail, they installed LED lights in the eyes and repulsor ports powered by a small battery pack hidden inside the helmet.
This example showcases how 3D printing can be used to create a highly accurate and detailed cosplay helmet with advanced features like LED lighting.
Case Study: Hybrid Approach for a Warhammer 40K Space Marine Helmet
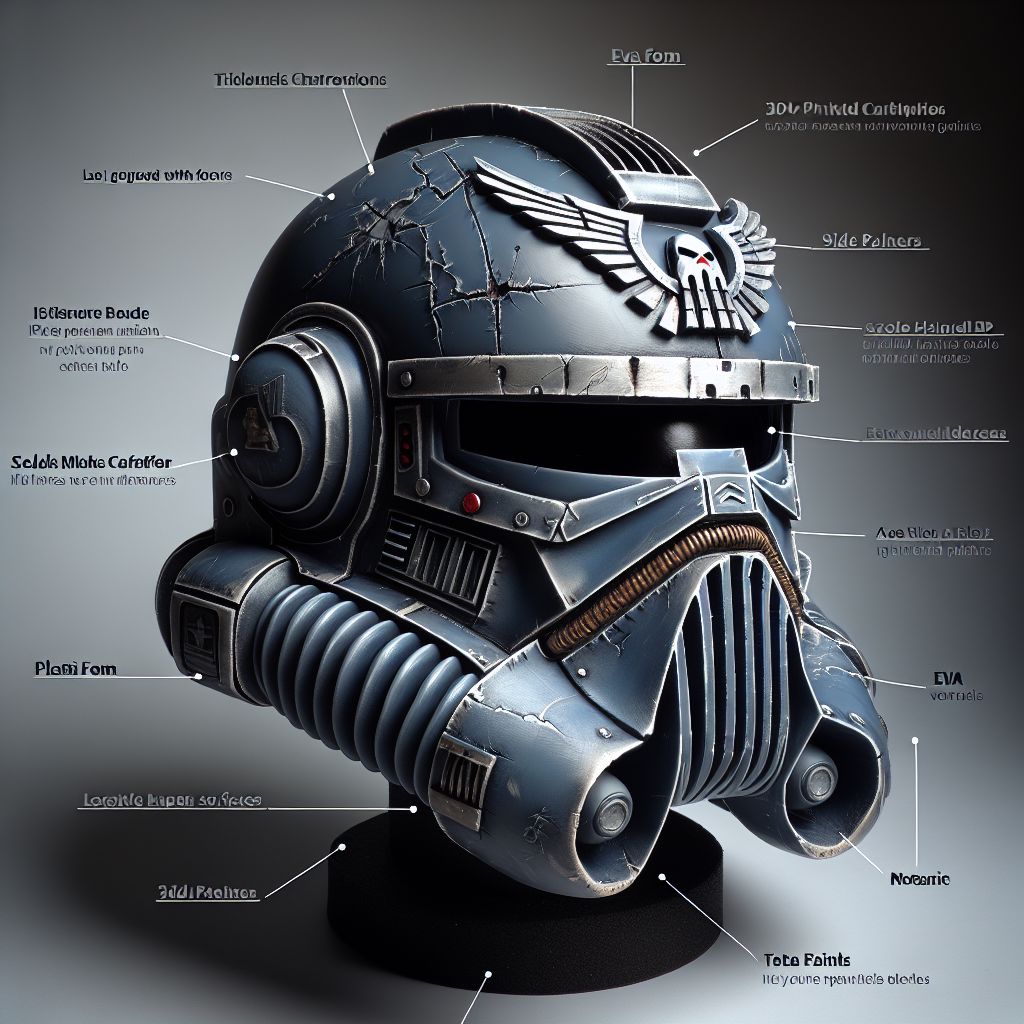
A cosplayer decided to use a hybrid approach, combining foam crafting and 3D printing, to create a Warhammer 40K Space Marine helmet. They started by 3D printing the basic shape of the helmet in PLA, which served as a base for the foam details.
They then used EVA foam to create the iconic ridge and vent details on the helmet, as well as the side panels and earpieces. These foam pieces were glued onto the 3D-printed base using contact cement.
To achieve a worn, battle-damaged appearance, the cosplayer used a rotary tool to add scratches and dents to the foam pieces. They then sealed the entire helmet with Plasti Dip and painted it using a combination of metallic silver, black, and blue acrylic paints.
Finally, they added a layer of foam padding on the inside of the helmet for comfort and a secure fit.
This case study demonstrates how combining foam crafting and 3D printing techniques can leverage the strengths of both methods to create a unique and detailed cosplay helmet.
These examples and case studies provide practical insights into how cosplayers can use foam crafting, 3D printing, or a combination of both to create impressive and accurate cosplay helmets tailored to their specific needs and skills.
Ensuring a Perfect Fit: Foam vs. 3D Printing
When it comes to achieving a perfect fit, both foam and 3D printing techniques have their advantages and challenges. With foam helmets, you have the flexibility to make adjustments as you go, trimming and reshaping the material until you achieve the desired fit. This allows for a more forgiving process, especially for beginners.
On the other hand, 3D printing requires you to have a precise digital model before printing. This means you’ll need to accurately measure your head and translate those measurements into your 3D design. Any errors in the design or measurements can result in a helmet that is poorly fitting. However, once you have a well-fitting 3D model, you can easily reproduce the helmet without the need for further adjustments.
Regardless of the technique you choose, consider adding padding to the inside of your helmet for added comfort and a better fit. Foam inserts work well for both foam and 3D-printed helmets, providing a layer of cushioning and helping to distribute the weight of the helmet evenly.
Customization for Character Accuracy: Foam vs. 3D Printing
Both foam crafting and 3D printing offer unique customization opportunities to achieve character accuracy. With foam, you have the ability to add layers and textures and even incorporate LED lights to bring your helmet to life. The versatility of foam allows for a wide range of creative possibilities, limited only by your imagination and crafting skills.
3D printing, on the other hand, excels at creating intricate details and complex shapes that may be difficult or time-consuming to achieve with foam. You can incorporate movable parts, vents, or even electronic components directly into your 3D design. This level of precision and detail can be especially advantageous when aiming for a high degree of character accuracy.
When it comes to finishing touches, both techniques offer a variety of options. For foam helmets, you can experiment with different paints, weathering techniques, and sealants to achieve the desired look. With 3D printing, you have the option to choose from a wide range of filament colors and finishes, such as metallic or glow-in-the-dark, to match your character’s aesthetic.
Ultimately, the choice between foam and 3D printing for customization will depend on your specific character requirements, your crafting skills, and the level of detail you wish to achieve. Both techniques offer unique advantages and can be used to create impressive, character-accurate cosplay helmets.
Frequently Asked Questions (FAQ)
Got questions? You’re not alone! Here are some of the most common queries cosplayers have when it comes to helmet crafting.
Can Foam Helmets Be As Durable As 3D Printed Ones?
Foam helmets can be surprisingly resilient, especially when properly sealed and finished. However, they may not withstand the same level of impact as a 3D-printed helmet.
That being said, durability often comes down to the thickness of the material and the quality of the build. With the right techniques, a foam helmet can last through many conventions and photo shoots.
Use high-density foam for better durability.
Reinforce seams and edges with additional glue or sealant.
Apply multiple layers of protective coating, such as Plasti Dip or varnish.
Keep in mind that while foam might not be as inherently sturdy as plastic, it has the advantage of being lightweight and easy to repair.
What’s the Best Paint for Foam and 3D Printed Helmets?
Acrylic paints are a popular choice for foam helmets due to their flexibility and variety of colors. You’ll want to use a sealant first to prevent the foam from absorbing the paint.
For 3D-printed helmets, spray paints and airbrushing can give you a smooth, even coat. Make sure to use a primer suitable for plastics to ensure the paint adheres well.
Regardless of the material, always finish with a clear coat to protect your paint job from scratches and wear.
How Much Time Should I Allocate to Create a Foam or 3D Printed Helmet?
Time is an important factor to consider when planning your helmet. Foam crafting can be quicker, with a basic helmet potentially coming together in a weekend. However, adding intricate details and finishes will add to that time.
3D printing, on the other hand, requires patience. The printing alone can take days, depending on the size and complexity of the design. Post-processing, such as sanding and painting, will add additional time.
Plan for at least a few weeks from start to finish, and give yourself some buffer time for troubleshooting and unexpected delays.
Is 3D Printing More Expensive Than Foam Crafting?
Initial costs for 3D printing include the printer and filament, which can be a significant investment.
Foam materials are generally cheaper and more readily available.
Consider ongoing costs such as replacement parts for printers or additional tools for foam crafting.
In general, foam crafting is more budget-friendly, especially for beginners. 3D printing costs have been decreasing, but the upfront investment is still higher compared to foam.
Can I Create a Hybrid Helmet Using Both Foam and 3D Printing?
Absolutely! Combining foam and 3D printing can give you the best of both worlds. Use foam for larger, more flexible parts of the helmet and 3D printing for intricate details or complex shapes that are difficult to achieve with foam.
Hybrid helmets allow for a balance between cost, durability, and detail. It’s a creative approach that can lead to some truly unique and impressive results.
Plan your design to determine which parts are best suited for each material.
Ensure that the foam and printed parts can be securely attached to each other.
Consider the overall weight and balance of the helmet when combining materials.
By using both materials to their strengths, you can create a helmet that’s not only visually striking but also comfortable to wear.
Conclusion:
Foam crafting and 3D printing offer distinct advantages for creating cosplay helmets. Foam is affordable, accessible, and allows for customization, while 3D printing excels at precision and complex designs. Your choice depends on your budget, skill level, character requirements, and available time.
In some cases, a hybrid approach combining both foam crafting and 3D printing can offer the best of both worlds, allowing you to leverage the strengths of each technique for different aspects of the helmet.
Regardless of the technique you choose, remember to prioritize a comfortable fit, pay attention to detail for character accuracy, and don’t be afraid to experiment and learn from your mistakes. With practice and dedication, you can create impressive, high-quality cosplay helmets using either foam crafting, 3D printing, or a combination of both.
We hope this guide has inspired you to create your own unique cosplay helmets. Share your experiences, ask questions, and post photos of your completed helmets on social media using #Cosplay3DPrint.
If you found this guide helpful, please share it with your friends and fellow cosplayers. Subscribe to our newsletter for more tutorials and tips.
Thank you for being a part of our creative community. Keep crafting and having fun!
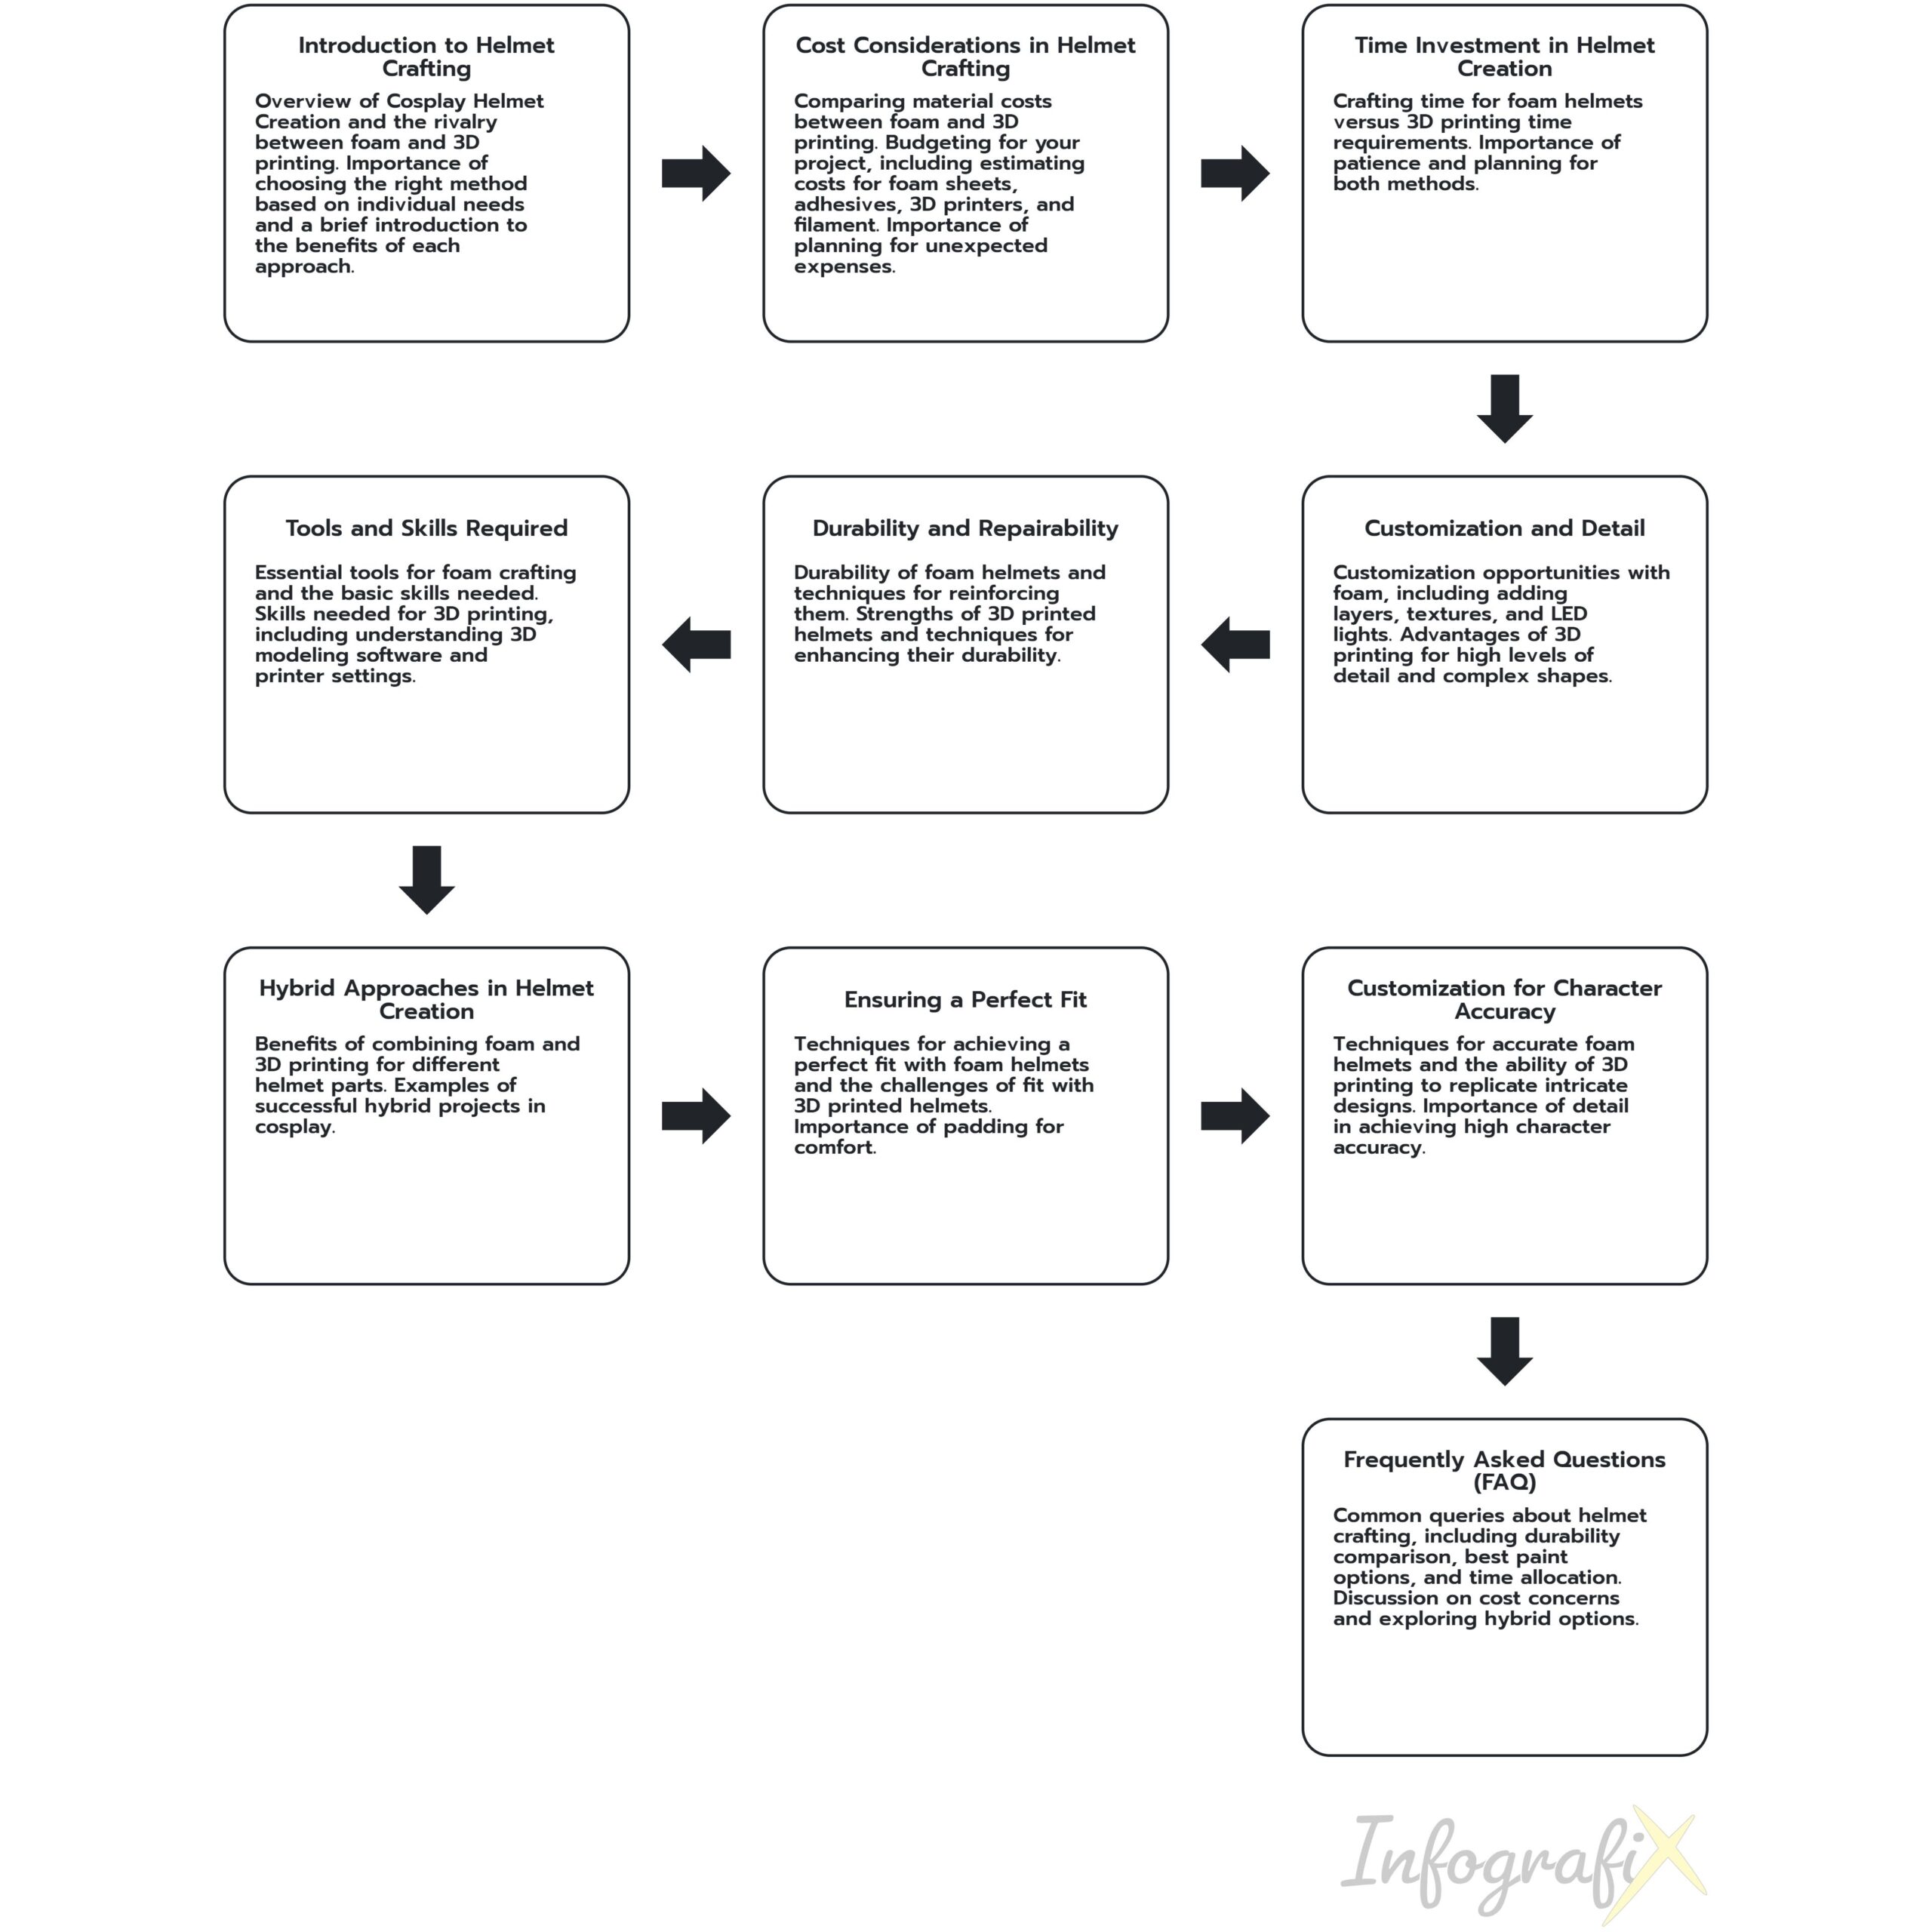
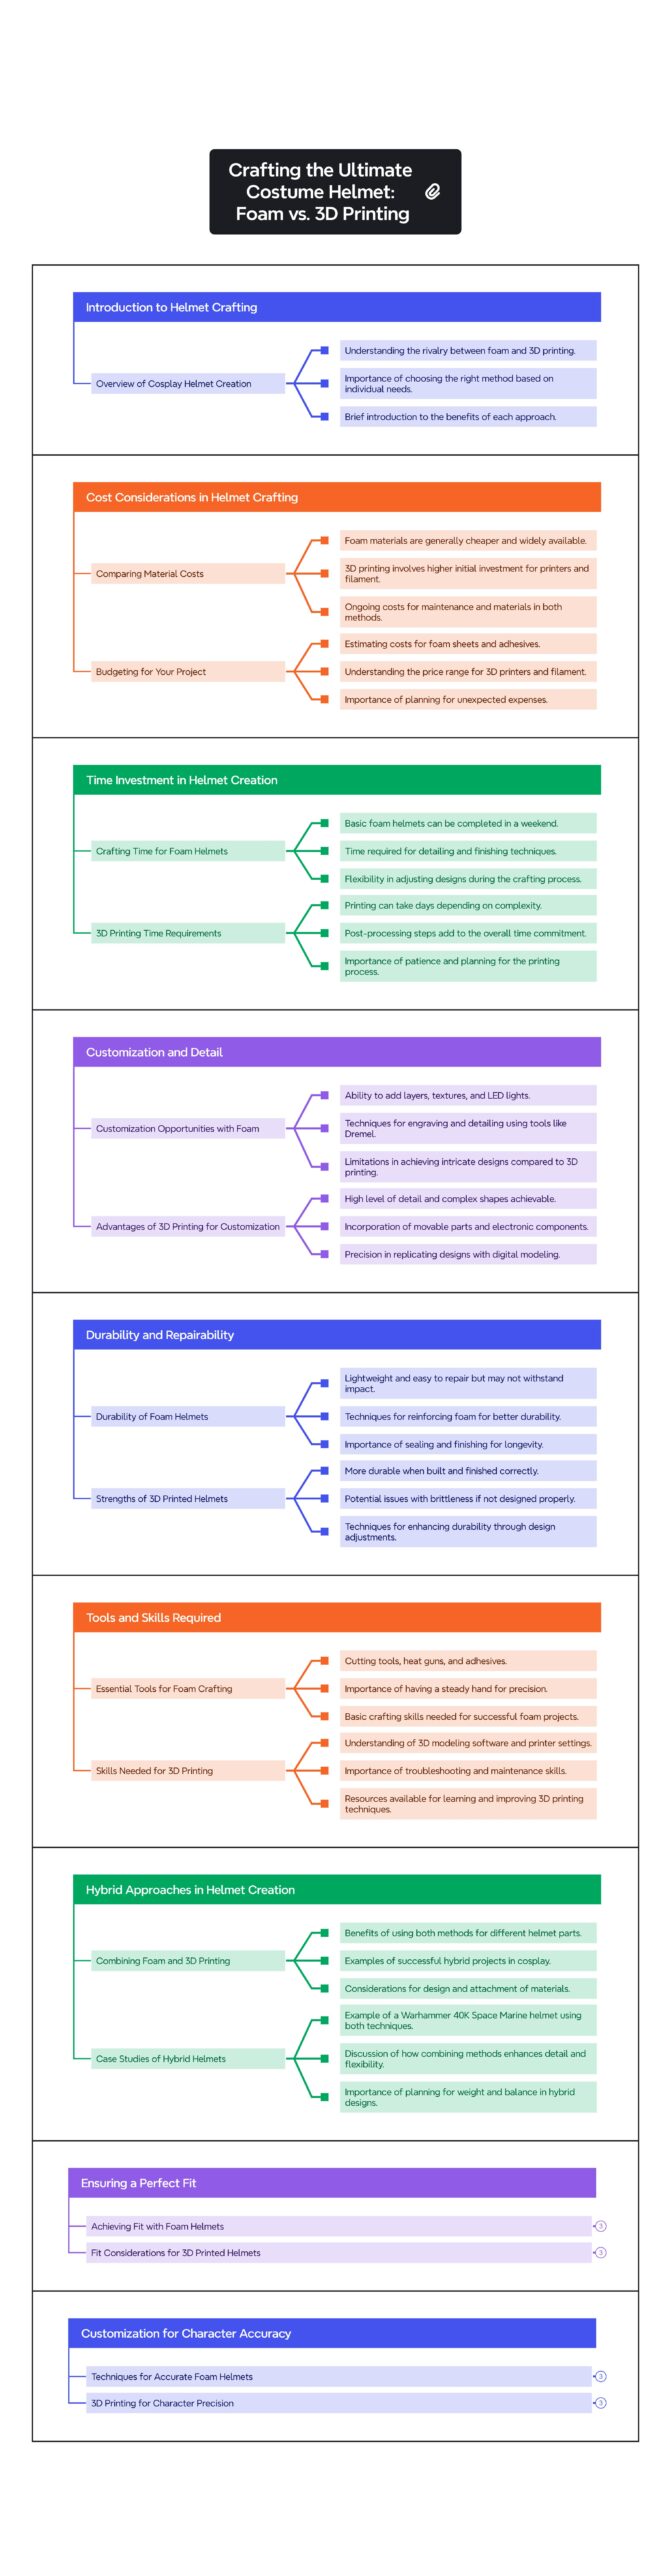
As we wrap up, the following grid provides a structured overview of the key concepts discussed in this post. Use it as a quick reference to reinforce your understanding and explore the connections between the main ideas:


Leave a Reply