
KeyPoints:
Grasping the fundamentals of 3D printing for cosplay helmets is a must for beginners.
Selecting the appropriate filament, such as PLA or ABS, has an impact on the strength and finish of your helmet.
3D modeling software is vital for tailoring your helmet design to meet your cosplay requirements.
Correct printer settings are essential for a smooth and successful 3D print.
Post-printing methods like sanding and painting can greatly improve the final appearance.


Your Guide to an Outstanding 3D Printed Cosplay Helmet
Entering the cosplay world is like stepping into a dimension where there are no limits to creativity. And what better way to make a stunning debut than with a cosplay helmet that is not just a costume accessory but a work of art you created yourself? 3D printing technology has opened up new possibilities for cosplay fans, allowing you to bring the most complex designs to life. So, let’s delve into the craft of making a 3D-printed cosplay helmet that is not only eye-catching but also a reflection of your commitment to quality, which, in my view, is crucial in fulfilling our ultimate purpose in our pursuits, including the sacred art of cosplay.
Get Started with Your 3D Helmet Project
First and foremost, you’re going to need a 3D model of your helmet. This could be a file that you’ve made yourself or one that you’ve acquired from a skilled designer. There are plenty of resources online where you can find the perfect model that matches your cosplay character. Keep in mind that the more intricate your model is, the more time and material it’s going to take to print, so weigh complexity against practicality.
Evaluating Design Options and Finding Files
When selecting the design for your helmet, you should think about not just how it looks but also how it works. Do you need to be able to see out of the visor? How will the helmet fit on your head? Keep these practical considerations in mind, and choose designs that can meet your needs—or be ready to make some adjustments. Here’s a piece of advice: always make sure to check the scale of your 3D model before you print it. It should be the right size for your head so that it fits comfortably.
When looking for files, consider these platforms:
Thingiverse and MyMiniFactory have a large selection of free designs, while more unique, paid files can be found on websites like CGTrader and TurboSquid. Safety Tip: Always make sure the file is from a trustworthy source to prevent any possible problems with the design.
Picking Your Material: The Right Filament for You
Let’s start with the basics—your filament. This is the stuff your 3D printer will use to make your helmet. There are many types of filament, but the two most popular for cosplay are PLA and ABS. PLA is biodegradable, comes in many colors, and is easy to use, making it a favorite for beginners. ABS is more durable and can handle higher temperatures, but it’s also harder to print with because it tends to warp.
Choosing Between PLA, ABS, and Specialty Filaments
When selecting the filament type, keep in mind the following:
PLA is fantastic for intricate prints and is more eco-friendly.
ABS is preferable for components that need to be tough and heat-resistant.
Specialty filaments such as TPU or PETG provide flexibility or various textures, which can be beneficial for particular helmet characteristics.

|
Type of Filament |
Advantages |
Disadvantages |
Ideal Use Case |
|---|---|---|---|
|
PLA |
Simple to print, broad color selection, high detail |
Not very heat resistant, can warp in hot conditions |
Helmets with high detail and moderate use |
|
ABS |
Sturdy, heat-resistant |
It can distort while printing, and it needs to have good ventilation. |
Functional helmets that need to hold up under stress |
|
TPU/PETG |
Flexible, resists impact |
It can be difficult to print with |
Helmet parts that need to be flexible |
Keep in mind that quality should never be sacrificed. Choosing a cheaper filament might save you a few dollars, but it could also compromise the durability of your helmet over time. Therefore, it’s worth investing in a high-quality filament from a trusted brand.

When Should You Use Flexible Filaments for Comfort and Fit?
Comfort is of utmost importance, particularly when you will be wearing your helmet for long durations. Flexible filaments such as TPU can be utilized for padding or for any parts of the helmet that may come into contact with your skin. They can also be beneficial for joints or movable parts of a helmet design.
Now that you have a basic idea of how to start your 3D-printed helmet, it’s time to delve into the details of modeling and printing. Stick around as we explore the realm of 3D modeling software and the printing process that will make your cosplay dreams a reality.
Getting to Grips with 3D Modeling Software for Helmet Customization
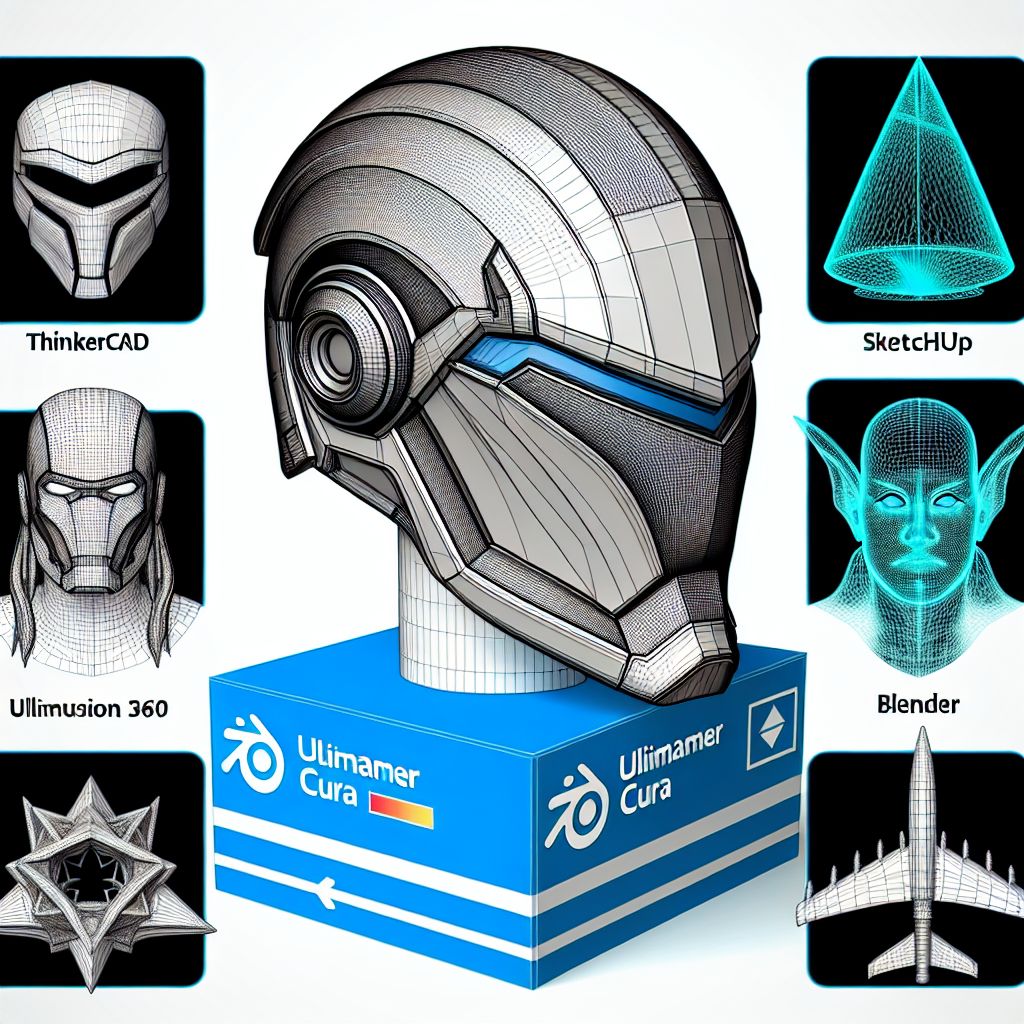
Before you can start printing, you need to design your helmet. This is where 3D modeling software comes in handy, as it allows you to customize every curve and notch of your helmet to your exact specifications. Whether you’re modifying an existing design or creating one from scratch, the software you choose is your best friend. For beginners, Tinkercad is a user-friendly platform that makes design as simple as dragging and dropping shapes. More experienced creators might prefer Blender or Fusion 360, which offer a robust set of tools for intricate designs.
Software Suggestions for Beginners
If you’re new to the world of 3D modeling, here are some software options that are user-friendly and packed with features:
Tinkercad: This software is known for its easy-to-use interface and basic shape templates. Create a basic helmet shape by combining and modifying spheres and cylinders. Drag a sphere onto the workplane, adjust its size, then add a cylinder to form the visor area.
SketchUp: This software has a free version with plenty of features to help you get started.
Ultimaker Cura: This software is not only for slicing your model for printing, but it also has design capabilities that are easy to use.
Expert Techniques for Experienced Crafters
For those who have been in the game for a while, it’s all about using expert techniques to break the mold and see what’s possible. Software like Blender allows for sculpting and texturing that can add a phenomenal level of detail to your helmet. Fusion 360, on the other hand, shines with its parametric modeling capabilities, which are great for precise, measured designs. And let’s not forget about ZBrush, the first choice for many professional modelers in the industry, perfect for organic shapes and high-resolution detailing.
Printing Your Helmet: A Step-by-Step Guide
Once you have your model, it’s time to make it a reality. The 3D printing process is as exciting as it is complex, and the devil is in the details. First, you’ll need to slice your 3D model into layers using slicing software, which will then convert it into instructions for your printer. Cura and Simplify3D are both popular choices that strike a balance between being easy to use and offering advanced features.
After you’ve sliced your model, you’re ready to start printing. It’s a good idea to do a test print of a small part of your helmet first to make sure everything is set up right. This can save you a lot of time, filament, and aggravation. Then, you can move on to the full print, but make sure to keep a close watch on the first few layers because they’re really important for the rest of the print.

Perfecting Printer Settings for Helmet Models
Printer settings are the key to a successful print. Here’s what you need to pay attention to:
Layer height: Thinner layers will give you more detail but will take longer to print.
Temperature: If it’s too hot, your print could warp; if it’s too cold, the layers might not stick together. The temperature of your extruder and bed can significantly impact the quality of your print. For PLA filament, start with an extruder temperature of 190-210°C and a bed temperature of 50-60°C, but always consult the manufacturer’s guidelines for your specific filament.
Speed: Printing slower can give you better detail and make the layers stick together better, but it will take longer.
Supports: You’ll need these for any parts of your helmet that hang over empty space, but you’ll have to remove them after the print is done.
Guide to Common 3D Printing Issues
Even the most carefully crafted plans can go wrong, especially when it comes to 3D printing. Here are some common issues and their solutions:
Warping: To prevent the corners of your helmet from lifting, ensure your print bed is level and properly heated.
Stringing: If you notice thin plastic strings between parts of your helmet, it could be due to temperature issues or retraction settings in your printer.
Infill problems: The internal structure of your print must be strong enough to support the outer layers without wasting material. Try different infill percentages to find the best fit.
How to Finish Your Helmet for a Realistic Look
Once your printer has finished its job, the real work begins. The difference between a 3D-printed helmet and a cosplay masterpiece lies in the finishing techniques. Begin by getting rid of any support material and sanding down the print to eliminate any obvious signs of layering. It’s a time-consuming process, but the end result is well worth the effort.

How to Sand and Smooth for a Professional Appearance
For a professional, smooth finish, you can’t beat sanding. Start with a rough grit to take care of any high spots, and then slowly move to a finer grit for a polished look. For those difficult-to-reach areas, a rotary tool can be a lifesaver. And if you want a truly professional, seamless look, think about using a filler primer to take care of any remaining gaps and then sand again.
After you’re happy with the smoothness, it’s painting time. A high-quality spray primer will get your surface ready, and then it’s your job to give your helmet some color. Acrylics are a good choice because they’re easy to use and come in a lot of different colors. When you paint, use thin layers so you don’t get drips and so you can slowly build up the color.
Maintaining the Sanded Finish Protect your sanded 3D-printed helmet from dust and scratches by storing it in a clean environment. Use a soft cloth to wipe away dust, and avoid handling it with dirty hands.
How to Paint Your Helmet for Longevity and Authenticity
When painting your helmet, you’re not just going for looks. You also want to make sure your helmet will hold up during a cosplay event. Here’s how to do it:
Start with a primer: This will not only help the paint stick better but will also ensure that the color is consistent; clean any primer residue from the helmet’s surface with a clean, dry cloth to ensure proper paint adhesion. Keep the surface clean and dry before painting.
Add a protective coat: A clear sealant will keep your paint job safe from scratches and chips.
Consider weathering: If you want your helmet to look like it’s seen some action, techniques like dry brushing or washes can add a layer of depth and realism.

Installing Electronics and Personalized comforting Features
Your helmet doesn’t just have to be a static piece; it can be as dynamic as the character it represents. Installing electronics like LED lights can give it an eye-catching glow, and sound modules can add an extra layer of immersion. Remember to plan for these features early in the design process, as you’ll need to accommodate batteries and wiring.
While installing electronics and personalized features can take your helmet to the next level, these advanced techniques may be more suitable for experienced makers. Beginners can still create impressive helmets by focusing on the fundamental steps outlined in this guide.
Don’t neglect the inside of your helmet. It needs to be comfortable. Padding can make it more comfortable to wear and ensure it fits properly. You can use foam padding, cut it to the right shape, and glue it in place for a perfect fit.
Preservation and Maintenance Tips for Longevity
After investing so much time and energy into your helmet, you’ll want to keep it looking as good as new. Regular cleaning is key, especially after a convention or photoshoot. Use a soft cloth and mild detergent to gently clean off any dirt or smudges. For any electronic components, use a dry cloth to prevent any damage. When it comes to repairs, super glue or a 3D pen can be used to mend small breaks or cracks. For larger issues, you might need to reprint a section and seamlessly attach it to the original piece.
Use a soft cloth to clean it to avoid scratching the paint.
Mild detergents are best for removing dirt without damaging the finish.
Keep electronic components dry and clean them with a dry brush or cloth.
Super glue can fix small cracks, but consider a 3D pen for filling larger gaps.
Always handle your helmet with care, and store it in a cool, dry place when not in use to prevent any warping or damage from the environment.
Preserving Your Helmet to Avoid Damage
Storing your helmet correctly is as crucial as making it. You’ve put time and money into your helmet, so make sure it lasts by storing it the right way. Don’t store it in places with direct sunlight, as long exposure can make the paint fade over time. If you can, store your helmet on a mannequin head or in a padded bag to keep its shape and protect it from dust and other elements.
In Concise; To 3D Print a Cosplay Helmet:
|
Step |
Description |
|---|---|
|
1. Choose Your Helmet Design |
• Decide on the character or style you want to recreate |
|
2. Prepare the 3D Model |
• Import the 3D model into a slicing software like Cura or Simplify3D |
|
3. Estimate Material Needs |
• In the slicing software, calculate an estimate of the required filament material |
|
4. Set Up Your 3D Printer |
• Level the print bed and adjust printer settings per filament requirements |
|
5. Start the Helmet Print |
• Upload or transfer the G-code file to your 3D printer |
|
6. Remove Supports & Finish Printed Parts |
• Once printed, carefully remove support material if present |
|
7. Assemble & Paint the Helmet |
• Glue together any separate printed sections carefully |
|
8. Final Detailing and Fitting |
• Cut openings for visibility and ventilation if needed |
Recap: The Journey from Thought to Cosplay Perfection
That was a lot to take in, from the initial design phase all the way to those finishing touches that make your helmet pop. The process of creating a 3D-printed cosplay helmet can be difficult, but the end result is a personalized piece that showcases your unique touch and skill.
Don’t forget that quality is crucial in every step. Whether you’re picking the perfect filament or carefully post-processing, every little detail helps make your creation the best it can be. And don’t forget the most important tools of a master cosplayer: patience and persistence.
But above all, enjoy what you’re doing. Cosplay is a way to show your creative side and become one with the characters you adore. Your helmet is more than just an accessory; it’s a testament to your passion and abilities.
Start by drafting a robust design and selecting the most durable and easy-to-print filament.
Adjust your printer settings to avoid frequent problems such as warping and stringing.
Post-processing is key—invest time in sanding and painting for a polished finish.
Think about incorporating electronics and padding for a remarkable and comfortable helmet.
Preserve your helmet by cleaning and storing it properly to guarantee its durability.
Summary of the Best Tips for 3D Printed Helmet Success
In conclusion, here are the golden rules for crafting an exceptional 3D-printed cosplay helmet:
Quality over quantity: Don’t cut corners on materials or rush the process.
Detail-oriented: Spend time on design and final touches.
Test and iterate: Print small sections first to fine-tune your settings.
Post-processing expertise: Sanding and painting make a world of difference.
Care and maintenance: Treat your helmet like a work of art. Regularly clean your helmet with a soft, damp cloth, paying attention to seams and areas prone to wear. Inspect for cracks or damage and address issues promptly to preserve its integrity.
Concluding Remarks and Words of Encouragement for Cosplay Lovers
As you set off on your 3D printing adventure, keep in mind that each helmet you produce is more than just a piece of a costume—it’s a testament to your commitment to the craft. Welcome the hurdles and grow from them because, with every layer you print, you’re constructing not just a helmet but also your abilities and self-assurance.
Finally, we hope this guide has inspired you to create your own unique cosplay helmets. Share your experiences, ask questions, and post photos of your completed helmets on social media using #Cosplay3DPrint.
If you found this guide helpful, please share it with your friends and fellow cosplayers. Subscribe to our newsletter for more tutorials and tips.
Thank you for being a part of our creative community. Keep crafting and having fun!
As we wrap up, the following grid provides a structured overview of the key concepts discussed in this post. Use it as a quick reference to reinforce your understanding and explore the connections between the main ideas:


Leave a Reply