
As a cosplayer, I appreciate the importance of the small details. Cosplay isn’t just about wearing a costume; it’s about creating a character with the highest level of authenticity and quality. Quality is not an act but a habit. I’m here to help you understand the difference between traditional methods and the new world of 3D printing in cosplay so you can create magic with your hands and your mind.

Article Overview
Understanding the pros and cons of traditional cosplay crafting versus 3D printing.
Essential materials and tools needed for classic cosplay creation.
A brief introduction to 3D printing technologies relevant to cosplay.
Comparing the costs, time, and accuracy of traditional and 3D printed cosplay elements.
Mixing traditional craftsmanship with 3D printing for best results.


The Future of Cosplay: Traditional and 3D-Printed Methods
Before we get into the details, let’s set the stage. Traditional cosplay craftsmanship is the foundation of the community. It involves manual techniques, from sewing to sculpting, and it’s been honed over years of dedicated work. On the other hand, 3D printing has come onto the scene as a game changer, offering precision and repeatability that are difficult to achieve by hand.
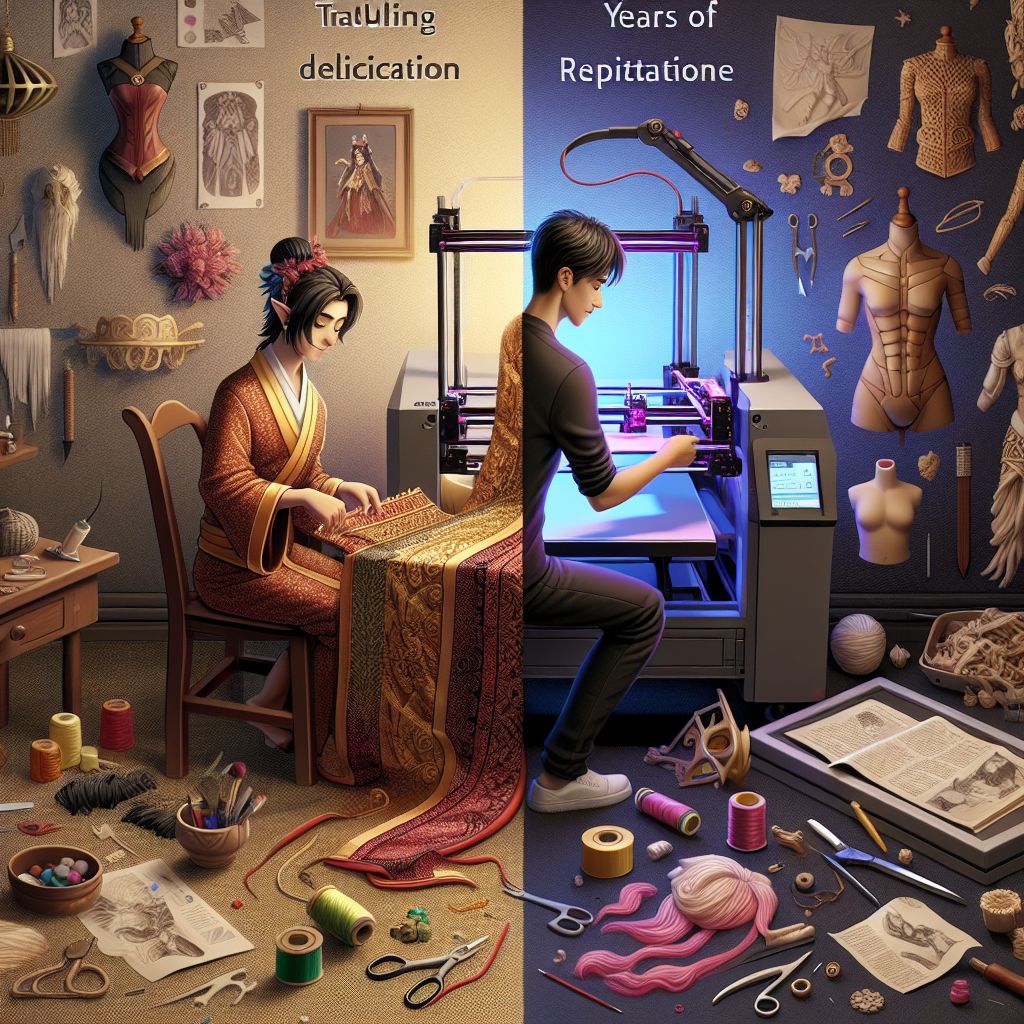
Material Mastery: The Fundamentals of Traditional Cosplay
Traditional cosplay crafting is an art form that deserves admiration. It’s about having a deep understanding of your materials and using basic tools to turn them into something amazing. Let’s start with the basics:
When it comes to cosplay, foam is a go-to material. It’s not only versatile and lightweight, but it’s also easy to work with. Whether you’re making a suit of armor or a prop sword, you can cut, carve, and glue foam to make just about anything you can imagine.
Cloth is the heart of cosplay. From the billowing cloak of a superhero to the detailed gown of a fantasy queen, choosing the right cloth is essential. It requires a keen sense of color and texture and, naturally, the ability to sew.
Thermoplastics, like Worbla, have revolutionized the way armor and stiff costume parts are made. They can be warmed and molded to fit your body like a glove, achieving a polished look that’s difficult to get with other materials.

From Screen to Scene: 3D Printing’s Impact on Cosplay
3D printing has revolutionized the cosplay scene. With this tool, anything you can imagine can be brought to life. It begins with a digital model and ends with a tangible object you can touch, wear, and display. The precision that 3D printing offers is truly awe-inspiring.
3D printers build objects from the bottom up by depositing layers of material, usually plastic.
The accuracy of 3D printing allows for the creation of complex designs that would be nearly impossible to hand-make.
It revolutionizes the creation of custom-sized pieces, complicated shapes, and symmetrical designs.
Now, let’s dive into the crux of cosplay craftsmanship. We’ll juxtapose these two realms so you can decide the best route for your upcoming project.

Picking Your Tools: Materials Needed for Traditional Cosplay Crafting
Any cosplayer will tell you that having the right materials is crucial. Here’s a list of what you’ll need to get started on your traditional cosplay crafting adventure:
Getting to Know Foam
There are various types of foam available, such as EVA foam, craft foam, and high-density foam. These materials are cost-effective, widely available, and are often the base material for many cosplay creations.
Keep in mind when you’re using foam:
Helmets, Armor, and props that need to maintain their form benefit from thicker foam.
For detailing and layering, thinner foam is ideal.
When it comes to shaping and texturing foam, heat guns, and Dremels are your best friends.
Once you get the hang of it, you’ll be transforming foam sheets into pieces of art you can wear.
Choosing the Right Fabric and Sewing Techniques
Picking the right fabric can mean the difference between a good costume and a great one. Think about the character you’re playing and the properties you need: stretch, sheen, weight, or flow. Natural fibers like cotton and silk are breathable, while synthetics like spandex and polyester are stretchy and durable.
When it comes to sewing, it’s a game of patience and accuracy. Start with basic stitches and patterns and slowly progress to more intricate clothing. And keep in mind the seam ripper isn’t a symbol of defeat but a tool for growth and betterment.
Heat Moldable Plastics in Cosplay
Thermoplastics have become a staple in the world of cosplay crafting. These are plastics that you can mold when they are heated, and they will keep their shape as they cool down. You might have heard of Worbla and Thibra, which are popular brands of thermoplastics.
Here’s a brief tutorial on how to use thermoplastics:
Before heating, cut the plastic into a rough shape to minimize waste.
Use a heat gun to make the plastic pliable.
Using your body or a mannequin as a form, mold it into the shape you want.
While warm, combine pieces by pressing them together.
Thermoplastics are a forgiving material for both beginners and pros, as they can be sanded, painted, and even reheated to correct mistakes.
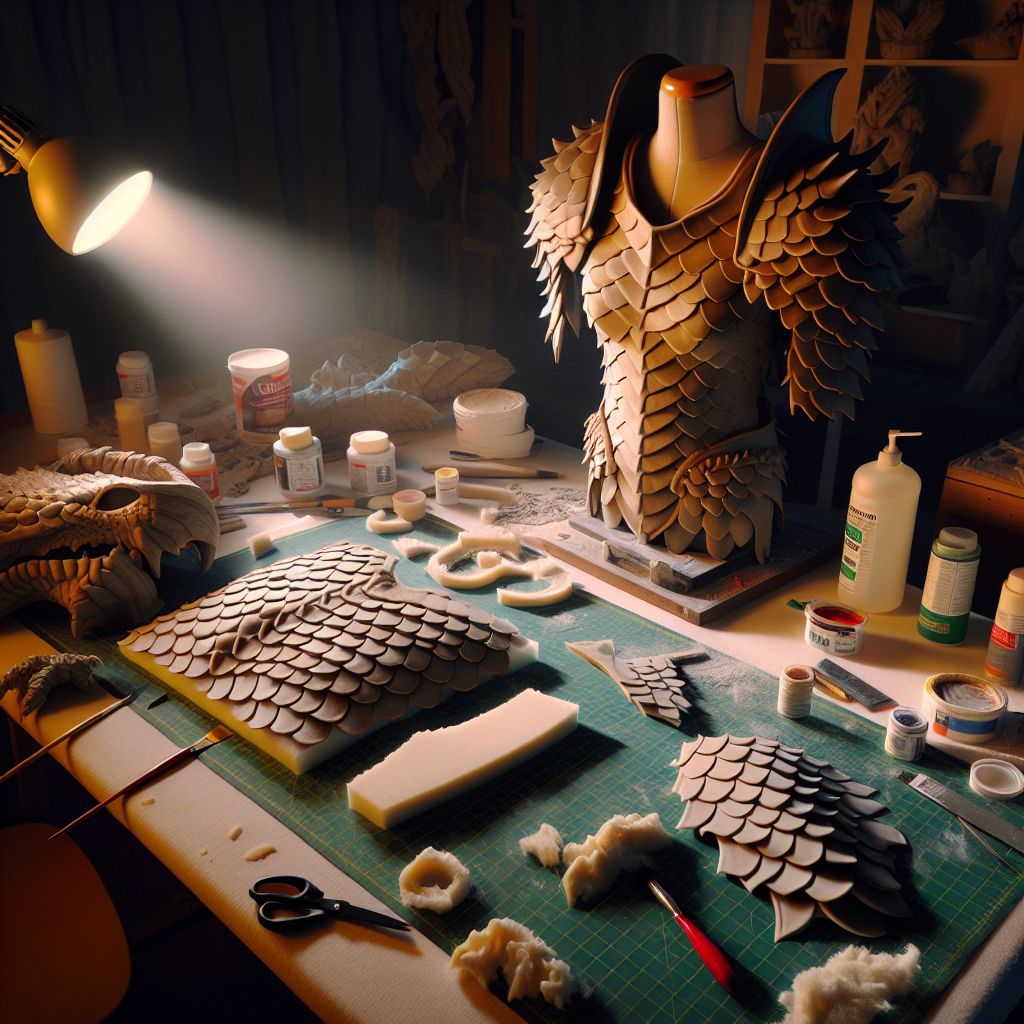
Example: In an upcoming cosplay event, I plan to create a dragon scale armor using EVA foam as the base and Worbla for the scales. The foam will be used for the structure, and the Worbla scales will be heated and pressed onto the foam, then painted to bring the dragon to life.
Pixel-Perfect: The Benefits of 3D Print Detailing
3D printing brings a level of accuracy to cosplay that traditional methods can have difficulty achieving. It’s ideal for intricate details like the filigree on a fantasy crown or the complex patterns of an alien artifact. The beauty of 3D printing is its ability to replicate these details consistently, every single time.
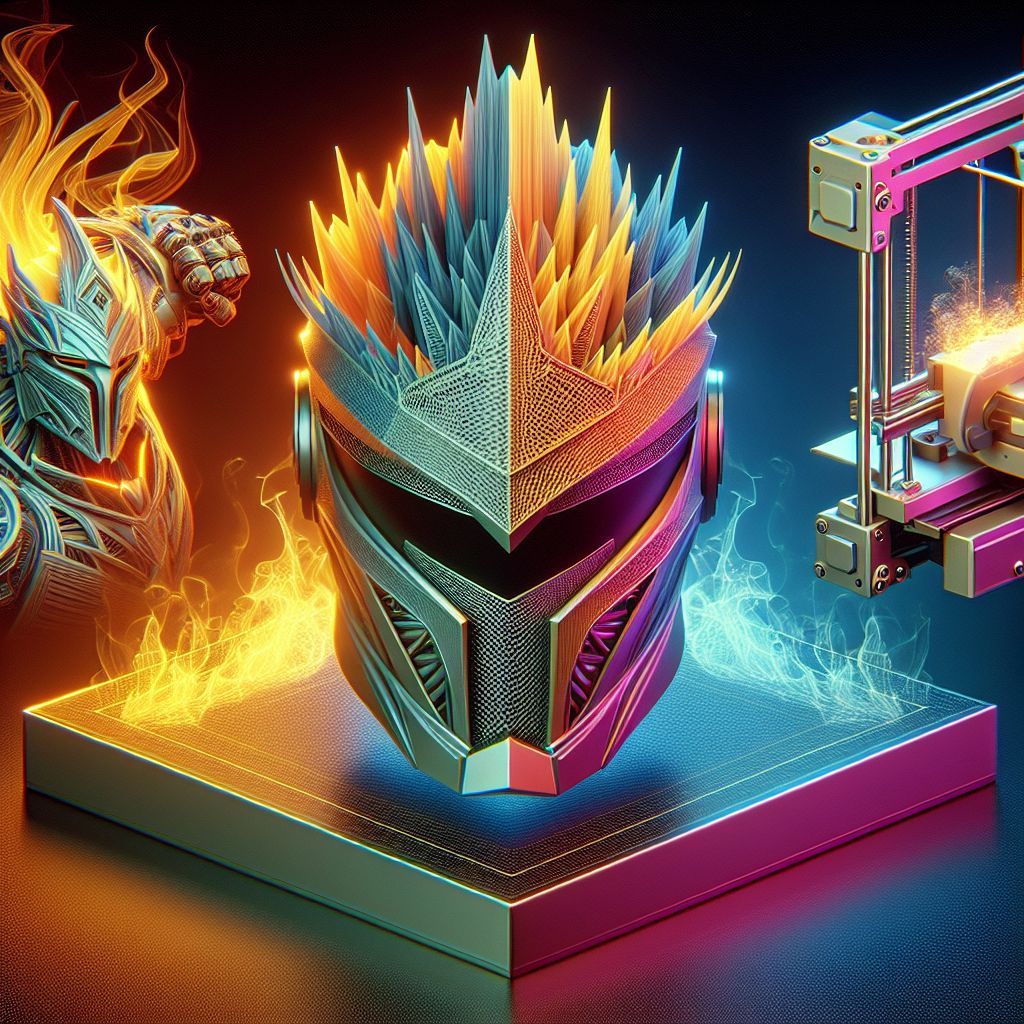
Melding Methods: Merging Old and New Techniques
Why limit yourself to one technique when you can take advantage of both? Merging old-school methods with 3D printing brings a new level of possibilities. It gives you the ability to create costumes and props that are not only intricate but also have the depth and personality that only handcrafting can give.
Picture a knight’s outfit with a 3D-printed chainmail hood combined with a tunic that’s been sewn by hand. Or a wizard’s staff where the complex runes are 3D printed and then attached to a hand-carved and stained wooden shaft for a genuine appearance. These are the sort of one-of-a-kind creations that can make your cosplay stand out.

Notably, this technique can be a real-time saver. Use 3D printing for tiny, intricate parts and traditional methods for bigger, simpler parts. This way, you can maximize your time while still creating a beautiful final product.
Mixing Materials: Blending Textiles and Thermoplastics
Mixing various materials can give your cosplay a more layered and textured look. For example, draping fabric over foam armor can make it look more authentic. A 3D-printed emblem could also be the focal point of a cloak or tunic. The secret is choosing materials that enhance each other and work well together.
For example, you could 3D print a complex belt buckle and attach it to a leather belt for a blend of contemporary and classic aesthetics. The difference between the two can showcase your skill and meticulousness.

Printing vs Casting: Deciding When to Use Which for Large Quantities
There will be times when you need to create many of the same objects, such as jewels for a costume or coins for a pirate’s treasure. In these instances, 3D printing each individual item may not be the best method. This is when traditional mold-making and casting can be more efficient.
Here’s what you need to think about:
If you require multiple copies of a single item, print one master copy and make a silicone mold from it.
Use resin or another suitable material to cast the copies. This method can be faster and more economical than printing each one individually.
When it comes to unique or one-of-a-kind items, 3D printing is the way to go due to its precision.
This strategy can help you save time and resources, particularly when you’re making items in large quantities for your cosplay.
Costing Your Cosplay: Budgeting Your Build
No matter if you’re working with a tight budget or you’ve been saving for a big project, knowing the costs of traditional and 3D-printed cosplay is important.
Pennywise Props: Traditional Techniques on a Budget
Traditional techniques can be quite budget-friendly, especially if you know how to use your resources. Here’s a quick overview:
The price of foam sheets can vary from $1 to $10, depending on their size and thickness.
By using thrifted fabrics and second-hand sewing machines, you can reduce your costs substantially.
Essential hand tools such as scissors, knives, and heat guns are relatively cheap and only need to be bought once.
If you learn to work with the materials you already have and always look for bargains, you can make incredible costumes without spending a fortune.
Is 3D Printing Worth the Investment?
3D printing requires an upfront cost for the printer and materials, but it can save money over time, particularly for intricate or custom designs. For instance:
You can buy a roll of PLA filament for about $20-$30, which will give you multiple small to medium-sized prints.
3D printers can be as cheap as $200 for beginner models or as expensive as over $1000 for high-end machines.
If you design your models or find them for free, you can save money on buying designs.
Think about how long you can use a 3D printer and how many different projects you can use it for. It’s a tool that can help you with many future projects.
Patience and Persistence: Evaluating Your Craftsmanship Dedication
Time is a commodity that is just as crucial as any other material. Both conventional craftsmanship and 3D printing necessitate a substantial time commitment, albeit in different manners.
The Art of the Handmade: The Time Commitment of Traditional Cosplay
Traditional cosplay is a work of passion. It can take an incredible amount of time to sew a costume by hand or to construct armor from foam. However, there’s a certain joy in pouring your heart and soul into every stitch and cut. It’s not just about the final product; it’s about the journey to get there.
Handmade pieces carry a story, a personal touch that can’t be replicated by machines. And while it may take longer, the skills you learn and the pride you feel in your work are invaluable.

Machine-made Masterpieces: The Pace of 3D Printing
Even though 3D printing mechanizes the construction process, it’s not exactly a time saver. Creating a 3D model can take a lot of time, particularly if you’re still getting the hang of it. And while the printer does the heavy lifting, it’s not exactly fast – a detailed print can take as much time as manually crafting a piece.
But once you have the model just right, you can print as many copies as you want with just a click. You put in the time at the start, but it pays off in efficiency later on.

Paint and Canvas vs. Pixels and Printers
Regardless if you’re handling a paintbrush or a computer mouse, the objective remains the same: to craft something extraordinary. Both conventional and 3D-printed cosplay have their own unique spots in the community, and both necessitate talent, persistence, and imagination.
Final Adjustments: Techniques for Painting and Polishing
The last stages of any cosplay creation are essential. They’re what take your work from ‘made’ to ‘masterpiece.’
Creating Authenticity: Hand Weathering
Weathering is a method used to give your costume a sense of age and authenticity. It involves adding shadows to folds, highlights to corners, and marks where normal wear and tear would occur. This step requires a delicate touch, attention to detail, and a knowledge of how objects respond to their environment.
When it comes to traditional methods, you have a variety of strategies to choose from:
Apply dry brush strokes to highlight the texture.
Using washes to add dimension to crevices.
Employing sandpaper or a file to simulate wear and tear.
Each of these techniques contributes to the narrative of your costume, giving it a sense of authenticity and history.
Bringing Cosplay to Life: The Art of Post-Processing 3D Prints
Post-processing is the magical stage where your 3D prints transform into realistic cosplay pieces. This is when you get to sand, prime, and paint your printed parts. Yes, it’s a detail-oriented process, but it’s absolutely crucial if you want your cosplay to look professional and seamless. Sanding helps eliminate those pesky print lines, priming gets the surface ready for paint, and painting is your chance to flex your creative muscles and truly bring your character to life.
Let’s take a brief look at how to post-process 3D prints:
Begin with a rough sandpaper to get rid of the biggest flaws.
Gradually move to finer grains for a sleek finish.
Apply filler primer to fill any remaining holes or print lines.
Once primed, paint your piece using acrylics, spray paint, or airbrushing techniques.
Keep in mind that patience is key. Speeding through post-processing can result in a finish that is less than desirable. Take it slow, and the results will be self-evident.
Cosplay Culture: The People and the Contests
Those who partake in cosplay find themselves in a lively and friendly environment full of skilled people who have a shared love for inventiveness and artistry. This is a community that values uniqueness and talent, and it is a place where both classic and 3D-printed cosplay are recognized and exhibited.
For many cosplayers, contests are the highlight, providing an opportunity to showcase their creations, get feedback, and get acknowledged for their hard work. Judges are on the lookout for quality, precision, and uniqueness, whether it’s a gown sewn by hand or a set of armor printed in 3D.
Con-Fabulous Creations: Showing Off Your Skills
Conventions are the ultimate stage for cosplayers to strut their stuff. It’s not just about winning competitions; it’s about the joy of sharing your work with others, inspiring and being inspired by fellow creators. The pride you feel when someone recognizes the hours of effort you’ve put into your cosplay is unmatched.
Remember, every stitch, every print, every brushstroke tells a story – your story. It’s at these events that your tales of craftsmanship come alive, shared with an audience that understands and appreciates the dedication behind each piece.
Comparing Costumes: Handcrafted vs 3D Printed Cosplay on Stage
In cosplay competitions, it doesn’t matter if the costume was made by hand or 3D printed. What matters is how well it was made. Judges usually look for:
The accuracy of the costume in depicting the character.
The quality of the finish and the level of detail.
The originality and creativity of the techniques used.
Both traditionally made and 3D printed costumes can each have their moment of glory, and each can excel in its own way.
Embrace Your DIY Spirit: Continuous Improvement in Cosplay Creation
No matter if you’re a veteran cosplayer or a beginner, there’s always something new to learn and improve upon. The path of a cosplayer is a never-ending journey of growth as you learn new methods, try out different materials, and continuously challenge the limits of what can be done.
Every project you take on is a chance to improve your abilities. Keep in mind that even the most successful cosplayers began with a single stitch, a single print. It’s your determination and love for the craft that will transform you from a novice to an expert.
Begin with minor tasks to enhance your assurance and abilities.
Look for guides and classes to gain knowledge from others.
Never hesitate to ask for guidance from the community – cosplayers adore sharing information!
As you develop, your collection of remarkable creations will also expand, each one representing your progress in the art of cosplay.
Setting Up Your Cosplay Crafting Corner
Creating a dedicated crafting space for your cosplay projects can make a world of difference. It doesn’t have to be spacious – a small nook or a collapsible table will suffice. The key is to keep it tidy and well-equipped with the necessary tools and supplies.
Arrange a space that has storage for your fabrics, foams, and filaments. Have your tools handy and, if you can, dedicate one area for painting and another for sewing or assembly. This will help keep you organized and make your crafting process more enjoyable.

Learning and Progress: Improving Your Cosplay Craftsmanship
The journey to cosplay perfection is ongoing. There are always new methods to learn, new materials to experiment with, and new technologies to discover. Invest in your learning by attending workshops, watching tutorials, and practicing as much as possible.
Keep in mind that the most powerful weapon you have is your attitude. Keep questioning, keep being enthusiastic, and never fear stepping outside your comfort zone.
FAQ
Is 3D-printed cosplay allowed in craftsmanship competitions?
Definitely, not only is 3D printed cosplay allowed in craftsmanship competitions, but it’s often praised for its innovative and precise designs. The most important thing is how well the finish and fit of the piece integrate with the rest of the costume.
How difficult is it for beginners to learn 3D printing?
The difficulty of learning 3D printing can vary. It begins with grasping the fundamentals of your printer and the software. With the help of online communities and an abundance of tutorials, beginners can begin by printing simple items and gradually progress to more intricate projects.
What’s more long-lasting for cosplay, conventional materials, or 3D prints?
Longevity is reliant on the materials and methods utilized. Conventional materials such as leather and metal can be incredibly long-lasting, but 3D prints can also be if they’re printed with the appropriate materials and settings. It’s all about selecting the right tool for the task.
How can I budget for a cosplay that includes both traditional and 3D-printed parts?
When budgeting for a cosplay that includes both traditional and 3D-printed parts, it’s important to plan ahead and do your research. Begin by creating a list of all the parts you need to make and sort them by the type of material they require. Calculate the cost of the materials for the traditional parts and the 3D-printed parts separately, then add the two totals together to get your overall cost.
Share Your Experience
We hope this guide has inspired you to create your own unique cosplay helmets. Share your experiences, ask questions, and post photos of your completed helmets on social media using #Cosplay3DPrint.
If you found this guide helpful, please share it with your friends and fellow cosplayers. Subscribe to our newsletter for more tutorials and tips.
Thank you for being a part of our creative community. Keep crafting and having fun!
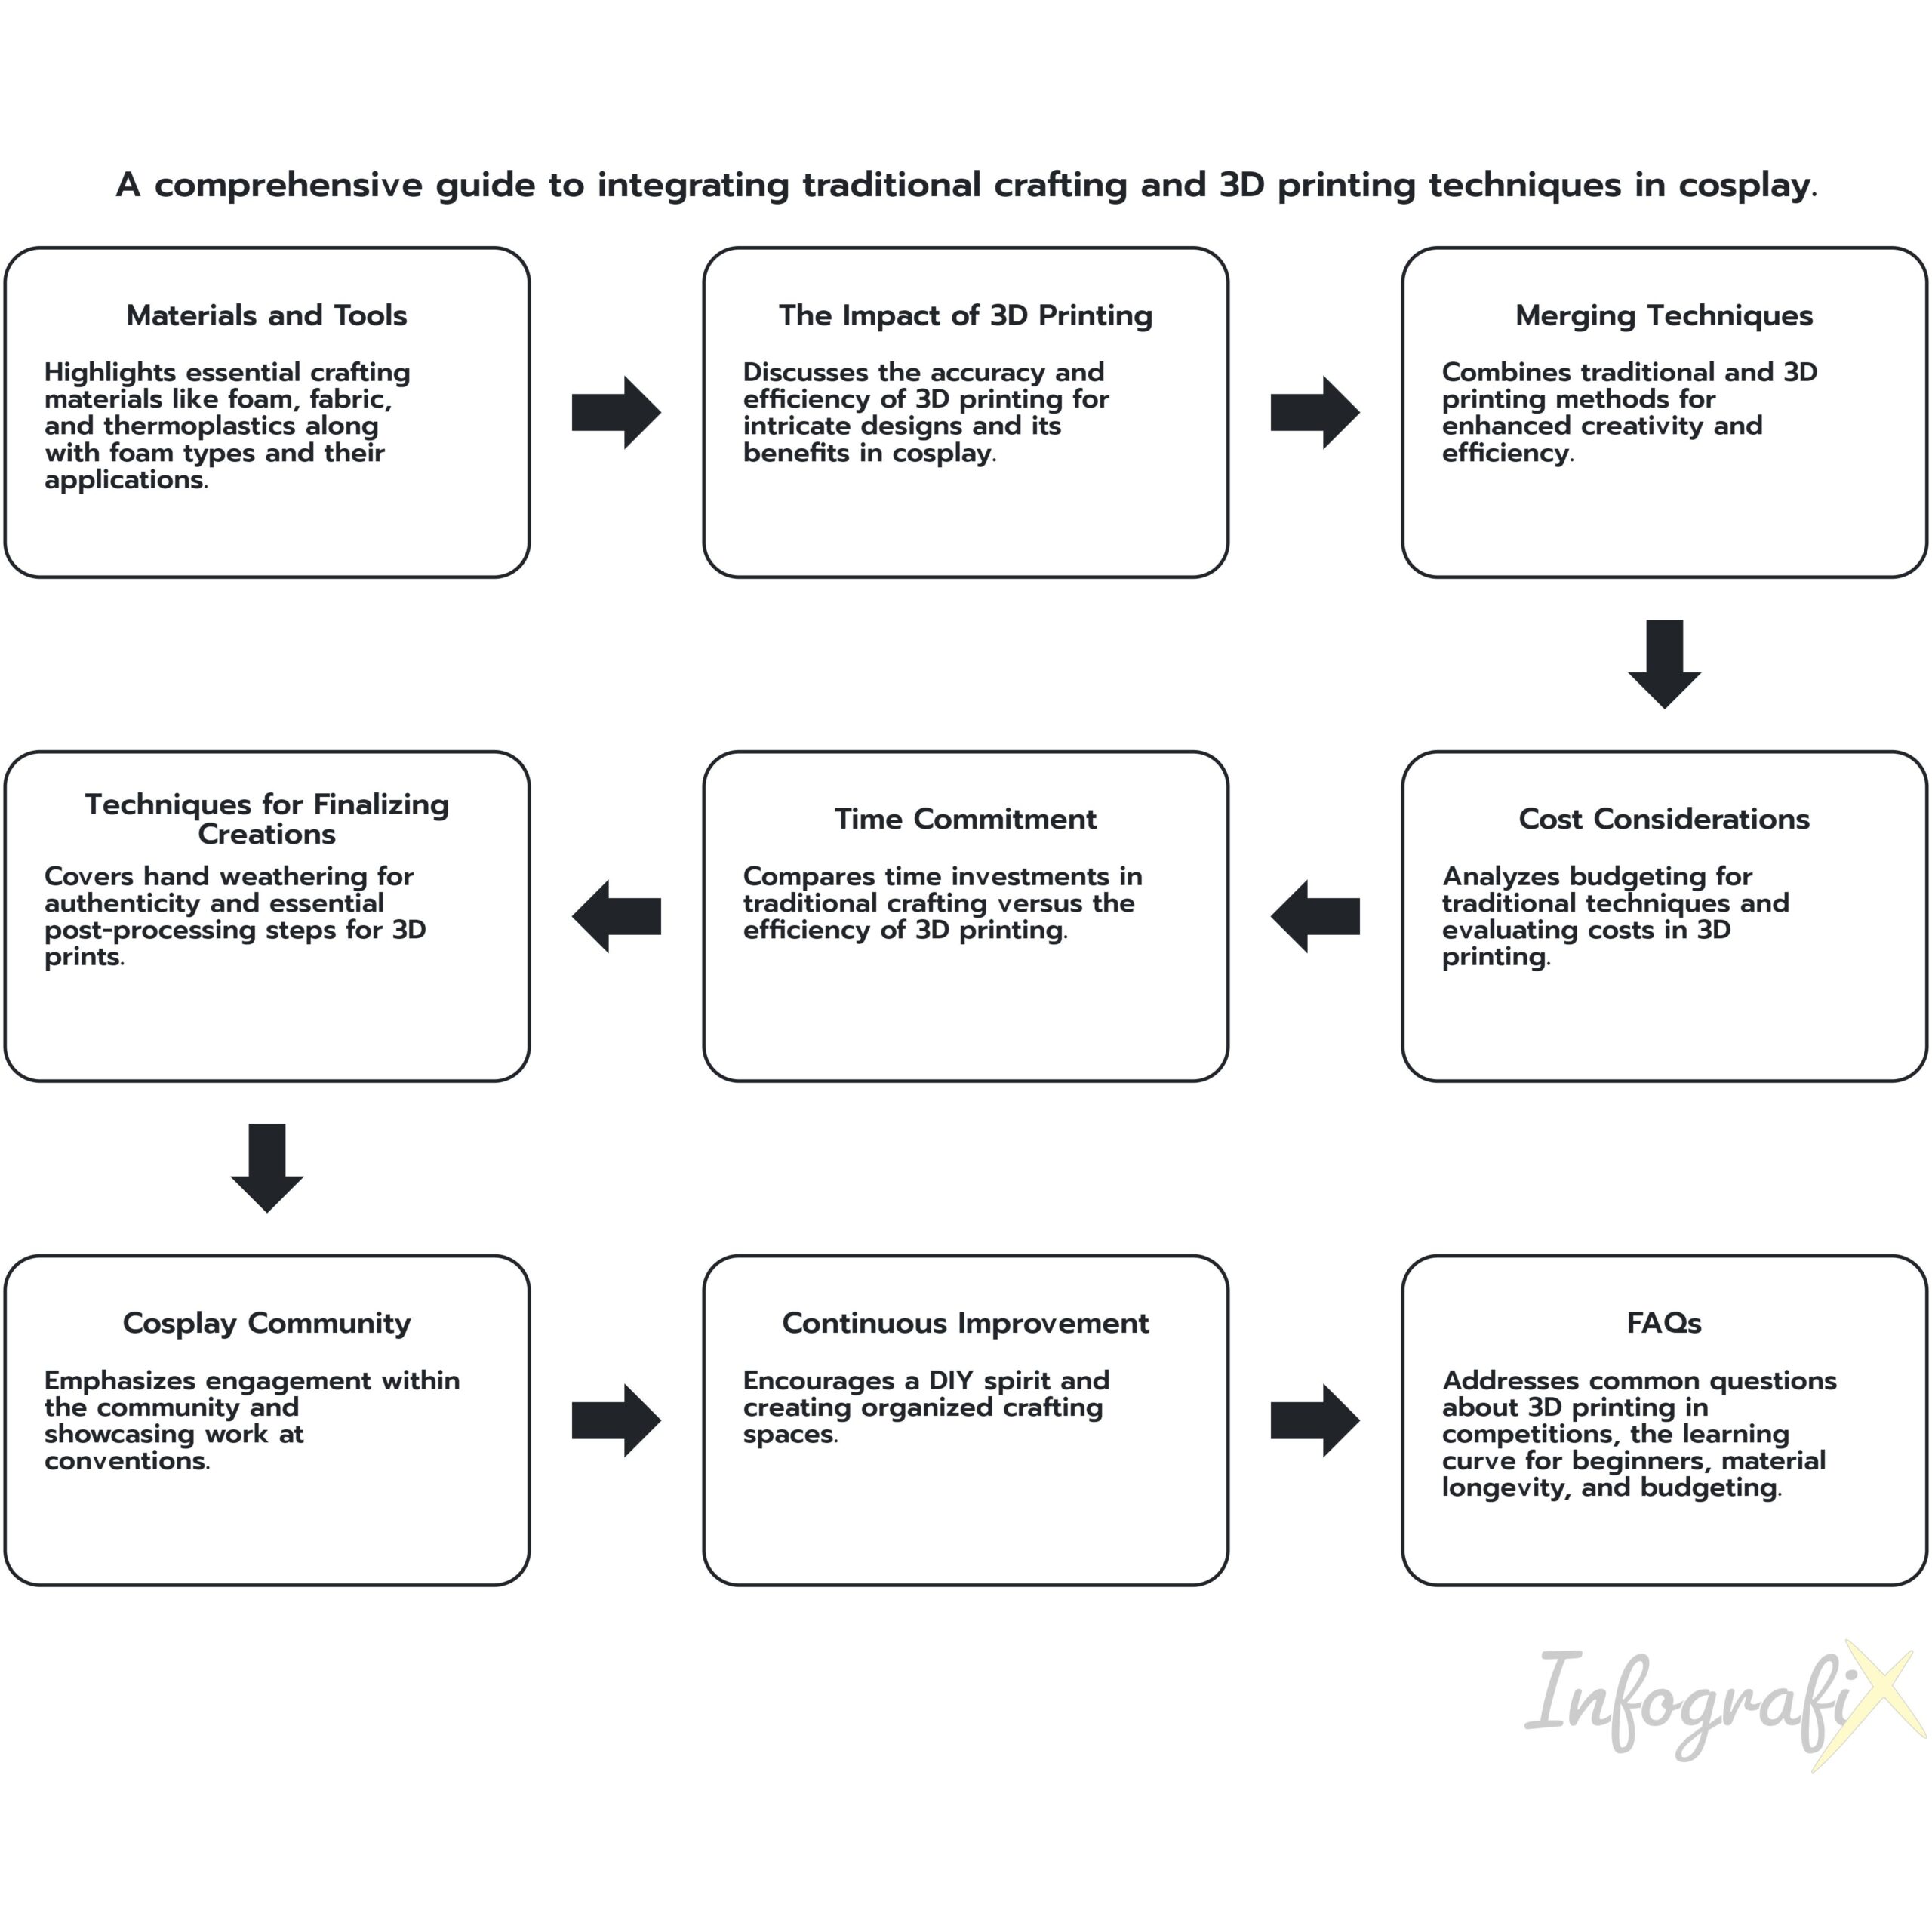
As we wrap up, the following grid provides a structured overview of the key concepts discussed in this post. Use it as a quick reference to reinforce your understanding and explore the connections between the main ideas:


Leave a Reply