
Just completed your 3D-printed cosplay helmet? It’s been a long road of waiting and careful adjustments, and you’re almost ready to show off your work. But before you can hit the convention floor, there’s one last step: painting. Painting your 3D-printed helmet can take it from “nice” to “amazing! Did you make that?” Let’s get started on turning your helmet from a 3D print to a cosplay work of art.
Quick Overview
Why the right paint matters for your 3D-printed cosplay helmet.
How to prep and prime your helmet for a flawless paint job.
Choosing the best paint types for a long-lasting and stunning finish.
Hand painting and airbrushing techniques for a pro look.
The final touches that will make your character pop and your helmet stand out.
Troubleshooting common Challenges and some FAQs.


How to Create an Amazing 3D Printed Cosplay Helmet
The Right Paint Makes All the Difference
The paint you choose for your helmet isn’t just about color; it’s about the kind of paint that will stick well to your material and hold up under the demands of cosplay events. There are several choices, but let’s break them down into the most trusted options for 3D printed materials.
Preparation: The Key to a Perfect Paint Job
Before you even consider opening a can of paint, your helmet needs some attention. Properly preparing your helmet will guarantee that your paint job is smooth, consistent, and long-lasting. Here’s how to prepare your helmet:
Begin by using a fine-grit sandpaper to smooth out the surface, removing any rough edges or bumps. Gradually move to an even finer grit to achieve a polished finish.
Then, wash the helmet with a gentle detergent and water to get rid of any dust or oils that could interfere with the paint’s ability to stick.
Apply a primer that is specifically made for plastics. This will enhance the paint’s adhesion and provide a consistent base on which to work.
Now that your helmet is sanded, washed, and primed, it’s ready for painting. The smoother the base, the better the paint will look. So don’t rush this stage – it’s worth the effort.
Painting Techniques: The Key to a Flawless Finish
There are two primary ways to paint your helmet: hand painting and airbrushing. Hand painting offers control and the ability to add intricate detail, while airbrushing provides a professional, uniform finish. We’ll explore both methods to help you determine which is the right fit for your design.
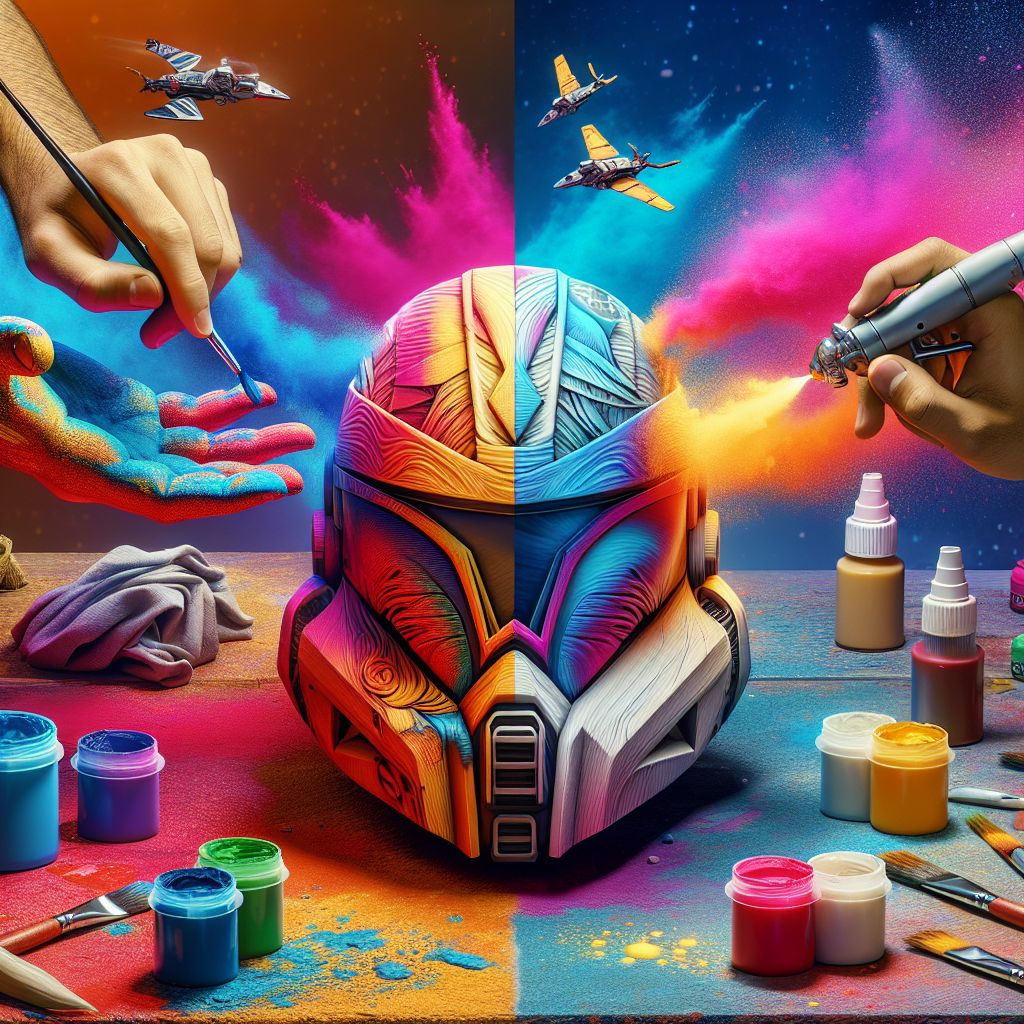
Bringing Your Character to Life: The Final Details
After you’ve applied your base coat, it’s time to really give your character some personality. Details such as weathering, decals, and emblems can add a lot of depth to your helmet. These final touches are what will set your helmet apart from all the others at the convention. For more on finishing techniques and troubleshooting, check out our detailed guide.
Choosing Your Colors: Different Paint Types and Their Strengths
Acrylics: The Ideal Paint for Cosplay Helmets
Acrylic paints are a favorite among many cosplayers. They are water-based, which makes them easy to use and clean. They dry fast and come in a wide variety of colors. Additionally, they are flexible when dry, making them great for a helmet that may need to withstand some rough handling. For more detailed techniques on painting and weathering your cosplay helmet, exploring dedicated guides can be very helpful.
Enamels: For a Strong, Long-Lasting Finish
Enamels are a great choice for those who need a paint that is robust and can withstand scratches. They do take a bit longer to dry than acrylics, but the end result is a glossy finish that is hard and can endure a lot of wear and tear. For more detailed guidance, check out our 3D Printed vs Store-Bought Cosplay Helmets: Benefits & Drawbacks.
Be aware: Enamels need to be used in a well-ventilated area and can be a bit tricky to use, so they may not be the best option for those just starting out.
Enamels are perfect for helmets that will be used frequently or for cosplayers who want additional durability and gloss. For more guidance, check out our DIY guide on 3D-printed cosplay helmets.
You’ve just begun your painting adventure. By preparing correctly and choosing the right paint, you’re on the right track to creating a cosplay helmet that’s not only durable but also impressive. Keep an eye out for more detailed steps on how to make your vision a reality with paint.
Creating a Smooth Surface: The Foundation of a Flawless Paint Job
Before we explore the colorful realm of paints and brushes, we need to discuss the crucial role a smooth surface plays. Your 3D-printed helmet might have some small flaws after printing – lines, ridges, or bumps. To get a finish that’s as polished as your favorite superhero’s gear, you’ll need to smooth out these flaws. Here’s how:
Start with a rough sandpaper to get rid of the bigger flaws, then slowly move to a finer grit. It’s like going down a staircase; you want to take it one step at a time to ensure a soft landing to smoothness. Sanding can be a drag, but it’s also relaxing, watching those lines vanish to reveal the shape of your upcoming work of art.
When you’re happy with the sanding, use a damp cloth to wipe off your helmet and get rid of any leftover dust. This is important because any remaining particles can mess up your paint job, making it rough when you want it to be smooth. Being patient and paying attention to detail at this stage will lay the foundation for an excellent paint job.
Priming: Lay the Foundation for Your Paint
Consider priming as the prelude to the main show. It readies the surface of your helmet, giving your paint an ideal canvas to shine. Select a primer that works well with the material of your helmet and the kind of paint you’ll be using. Put on the primer in thin, consistent coats, letting each layer dry fully before applying the next. This thorough preparation makes sure that your colors will not only adhere but also stand out with the intensity you’re aiming for.
Primer doesn’t just help the paint stick; it also highlights any areas that may need more sanding. If you see any imperfections after the first coat of primer, feel free to go back and make things smoother. Keep in mind that your helmet is a 3D canvas, and every angle counts.
After your primer has dried and your surface is as smooth as silk, it’s time for the main event: painting. Whether you want the metallic shine of Iron Man’s helmet or the weathered look of a Mandalorian bounty hunter, the correct primer will make your dream a reality.
The Art of Painting: A Professional Guide to Painting Your Helmet
Let’s dive into the artistic aspect. Painting your helmet can be as straightforward or as intricate as you desire. Whether you’re handling a paintbrush with the skill of a professional or the wide strokes of a novice, the technique you select will shape the character of your helmet.

Hand Painting: Precision and Detail
Hand painting is great for those who prefer the control that a brush offers. It lets you add detailed touches and fix small areas with precision. When you hand paint, use thin layers of paint to slowly build the color. This way, you lessen the chance of drips and have more control over the transparency of your paint. Plus, it’s very rewarding to see your character slowly come to life with each stroke.
Airbrushing: Attaining a Professional Finish
For those seeking a sleek, professional finish, airbrushing is the preferred method. An airbrush releases a fine mist of paint that provides an even coating that is difficult to match with a standard brush. It’s perfect for larger areas or for producing gradients and shades that give your helmet a sense of depth. It’s worth noting that airbrushing necessitates a little more preparation and cleanup, but the outcome is well worth the effort.
Oops! How to Fix Your Mistakes
Don’t sweat the small stuff; mistakes are part of the journey. If you mess up, just wait for the paint to dry and touch up the error with a tiny brush. For bigger mistakes, you may need to lightly sand the area and reapply the primer before painting again. Remember, every mistake is a chance to learn, and with each layer, you’re getting better.
Bringing Your Character to Life: Detailing and Finishing Touches
With your base color in place, it’s time to add the details that make your helmet unique. This is your chance to get creative and really make your piece pop.
Weathering: How to Make it Look Real
Weathering is a method you can use to make your helmet look like it’s been through a few battles or seen a few years. It adds a touch of reality and personality, hinting at the adventures your character has experienced. Here’s how you do it:
Apply darker shades into crevices and edges using a sponge or a small brush.
Create light scratches or dents to simulate wear and tear.
Emphasize raised areas with lighter colors using a dry brush technique.
There is no definitive method to weathering; it’s an art. It’s all about what feels genuine to the character you’re portraying. Read more about weathering.
Emblems and Decals: The Devil’s in the Detail
Emblems and decals are the unique signature of your character. Whether it’s the symbol of a superhero or the emblem of an intergalactic faction, you can create these details using stencils, freehand painting, or even 3D printing additional pieces to attach to your helmet. Regardless of the method you choose, these details are the final touch that showcases your attention to detail and passion for the character.
While you’re putting on the final touches, keep in mind that sometimes less is more. It’s tempting to go overboard, but every detail should have a reason and add to the overall look of your helmet.
Sealing: Safeguard Your Masterpiece
Once you’ve completed the painting and detailing, it’s essential to seal your work. A quality sealant will keep your paint from chipping, fading, or wearing off over time. Select a sealant that’s suitable for your paint type and apply it in thin, uniform coats. Whether you’re after a matte, satin, or glossy finish, the correct sealant will not only preserve your helmet but also boost its look.
By following this guide, you are now ready to paint a 3D-printed cosplay helmet that is more than just a prop but a masterpiece. Keep in mind the process of creation is just as significant as the end result. Enjoy every step, learn from your trials, and most importantly, have a blast making your dreams come true.
Consider the Environment and Your Health: Paint Wisely
As you start painting your cosplay helmet, it’s important to not only think about how it will look but also how your choices will affect the environment and your health. By painting safely, you can ensure your project is not only a success but also a responsible one.
Air Flow: Making Your Workspace Safe
It’s very important to have good airflow when you’re working with paints, especially if you’re using spray paints or enamels. These materials can let off fumes that are bad for you if you breathe them in small spaces. To keep yourself safe, always paint in a place with lots of air flow—preferably outside. If you have to work inside, open windows and use fans to move the air around. This will help get rid of fumes and keep you from breathing in chemicals that could be bad for you. For more detailed health tips, see our comprehensive guide on safe materials and health tips for 3D printing cosplay helmets.
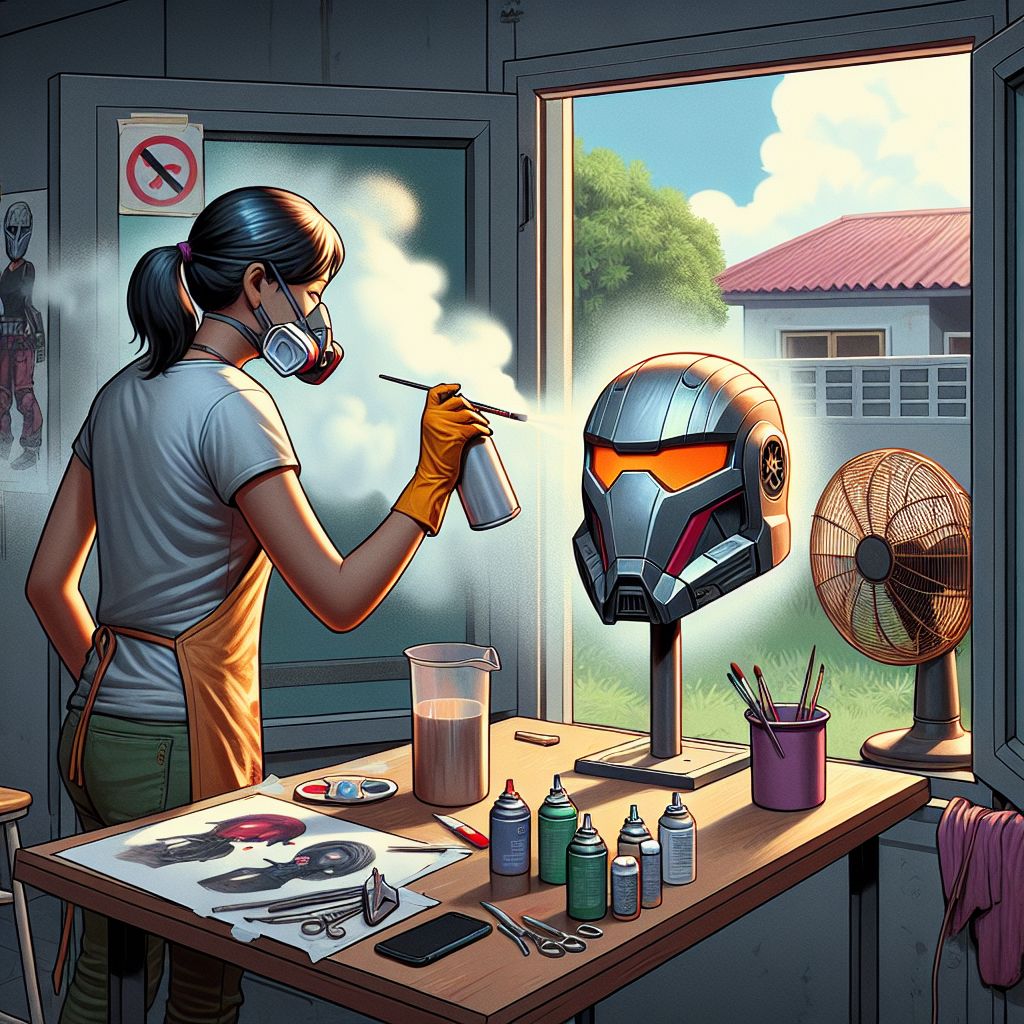
Don’t forget your health is just as important as your craft. Taking the time to create a safe workspace is an investment in your health and the future of your cosplay hobby.
Staying Safe: Opt for Non-Hazardous Materials
Whenever you can, use water-based acrylics, as they are safer than solvent-based paints.
Always read labels and look for non-toxic certifications.
Make sure to wear gloves when handling paints and chemicals to keep your skin safe.
By using safer materials, you’re keeping not only yourself but also those around you safe. Non-hazardous materials are better for the environment and can be just as effective in achieving the look you want.
Additionally, think about the long-term impact of the materials you use. Non-toxic paints may be more environmentally friendly when it comes to disposal. It’s a small decision that can have a significant impact.
First and foremost, familiarize yourself with the materials you are using. Being informed is crucial, and being aware of the safety considerations of your paints and tools will enable you to make the most beneficial choices for your health and the environment.
How to Dispose of Paints, Brushes, and Cleaning Materials
After you’ve finished your helmet, you might have leftover paints, brushes, and cleaning materials. It’s crucial to dispose of these in a way that has the least impact on the environment. You should never pour paint down the drain or onto the ground. Instead, you should check with your local waste management facility for instructions on how to dispose of hazardous materials. Brushes can often be cleaned and reused, which reduces waste. For cleaning materials and thinners, you should store them in airtight containers for future use or dispose of them according to local regulations.
Possible challenges & troubleshooting them
In the realm of painting 3D-printed cosplay helmets, encountering common issues or mistakes is not uncommon. Fear not; troubleshooting these hiccups can elevate your painting game to new heights. Let’s delve into some handy tips to address these challenges effectively:
Issue 1: Uneven Paint Application
If you notice streaks or uneven coverage on your helmet, fear not. The remedy lies in applying thin, even coats of paint. Avoid rushing the process; patience is key to achieving a smooth and consistent finish. Additionally, consider adjusting your painting technique to ensure uniformity across the surface.
Issue 2: Paint Drips and Runs
Drips and runs can mar the beauty of your painted helmet. To combat this, regulate the amount of paint on your brush or airbrush. Opt for lighter layers and allow each coat to dry completely before applying the next. In case of drips, gently sand the affected area and reapply the paint in a controlled manner.
Issue 3: Paint Peeling or Chipping
If you encounter paint peeling or chipping, revisiting the preparation stage is crucial. Ensure that the helmet surface is adequately sanded and primed before painting. Using high-quality paints designed for plastics and sealing the final layer can enhance durability and prevent peeling over time.
Issue 4: Color Bleeding or Blending
Color bleeding or blending can diminish the clarity of your design. Allow sufficient drying time between different paint colors or layers to address this. Consider using masking tape to create clean edges and boundaries for distinct color separation. Practice precision and patience to achieve crisp and defined color transitions.
By addressing these common painting issues with finesse and attention to detail, you can elevate your 3D-printed cosplay helmet from good to exceptional. Embrace the challenges as opportunities for growth and refinement in your painting journey.
Common Questions
Have some questions? You’re not the only one. Here are some common questions from other cosplayers starting on their helmet-painting journeys.
Is it possible to paint a 3D-printed helmet without priming it?
While you can technically paint a 3D-printed helmet without priming it, it is not recommended. Priming your helmet will provide a smooth surface for the paint to stick to, and it can help make your colors pop. If you skip this step, you might end up with a finish that is less durable and doesn’t look as professional.
How can I stop the paint from peeling off my cosplay helmet?
In order to stop paint from peeling, ensure that you’ve prepared your helmet correctly through sanding and priming. Use top-quality paints that are made for plastics and finish with a sealant to safeguard your work. If your helmet is going to be worn a lot, think about using enamel paint for extra strength.
How can I give my helmet a shiny look?
To give your helmet a shiny look, use a clear gloss sealant on top of your final paint layer. Ensure the paint is totally dry before applying the sealant. Also, apply thin, even coats to prevent drips or a cloudy appearance.
What kind of paint is best for someone new to painting cosplay helmets?
For beginners, I would recommend water-based acrylic paints. They’re simple to use, dry fast, and can be cleaned up using water. Plus, they come in a variety of colors, so they’re perfect for letting your creativity run wild with your helmet design.
What are some safety tips for using spray paint?
Always use spray paint in a place with good air circulation and wear a mask to avoid breathing in the fumes. Wear long sleeves and gloves to protect your skin and safety goggles to protect your eyes. You should also cover the floor and nearby objects to avoid getting paint on them.
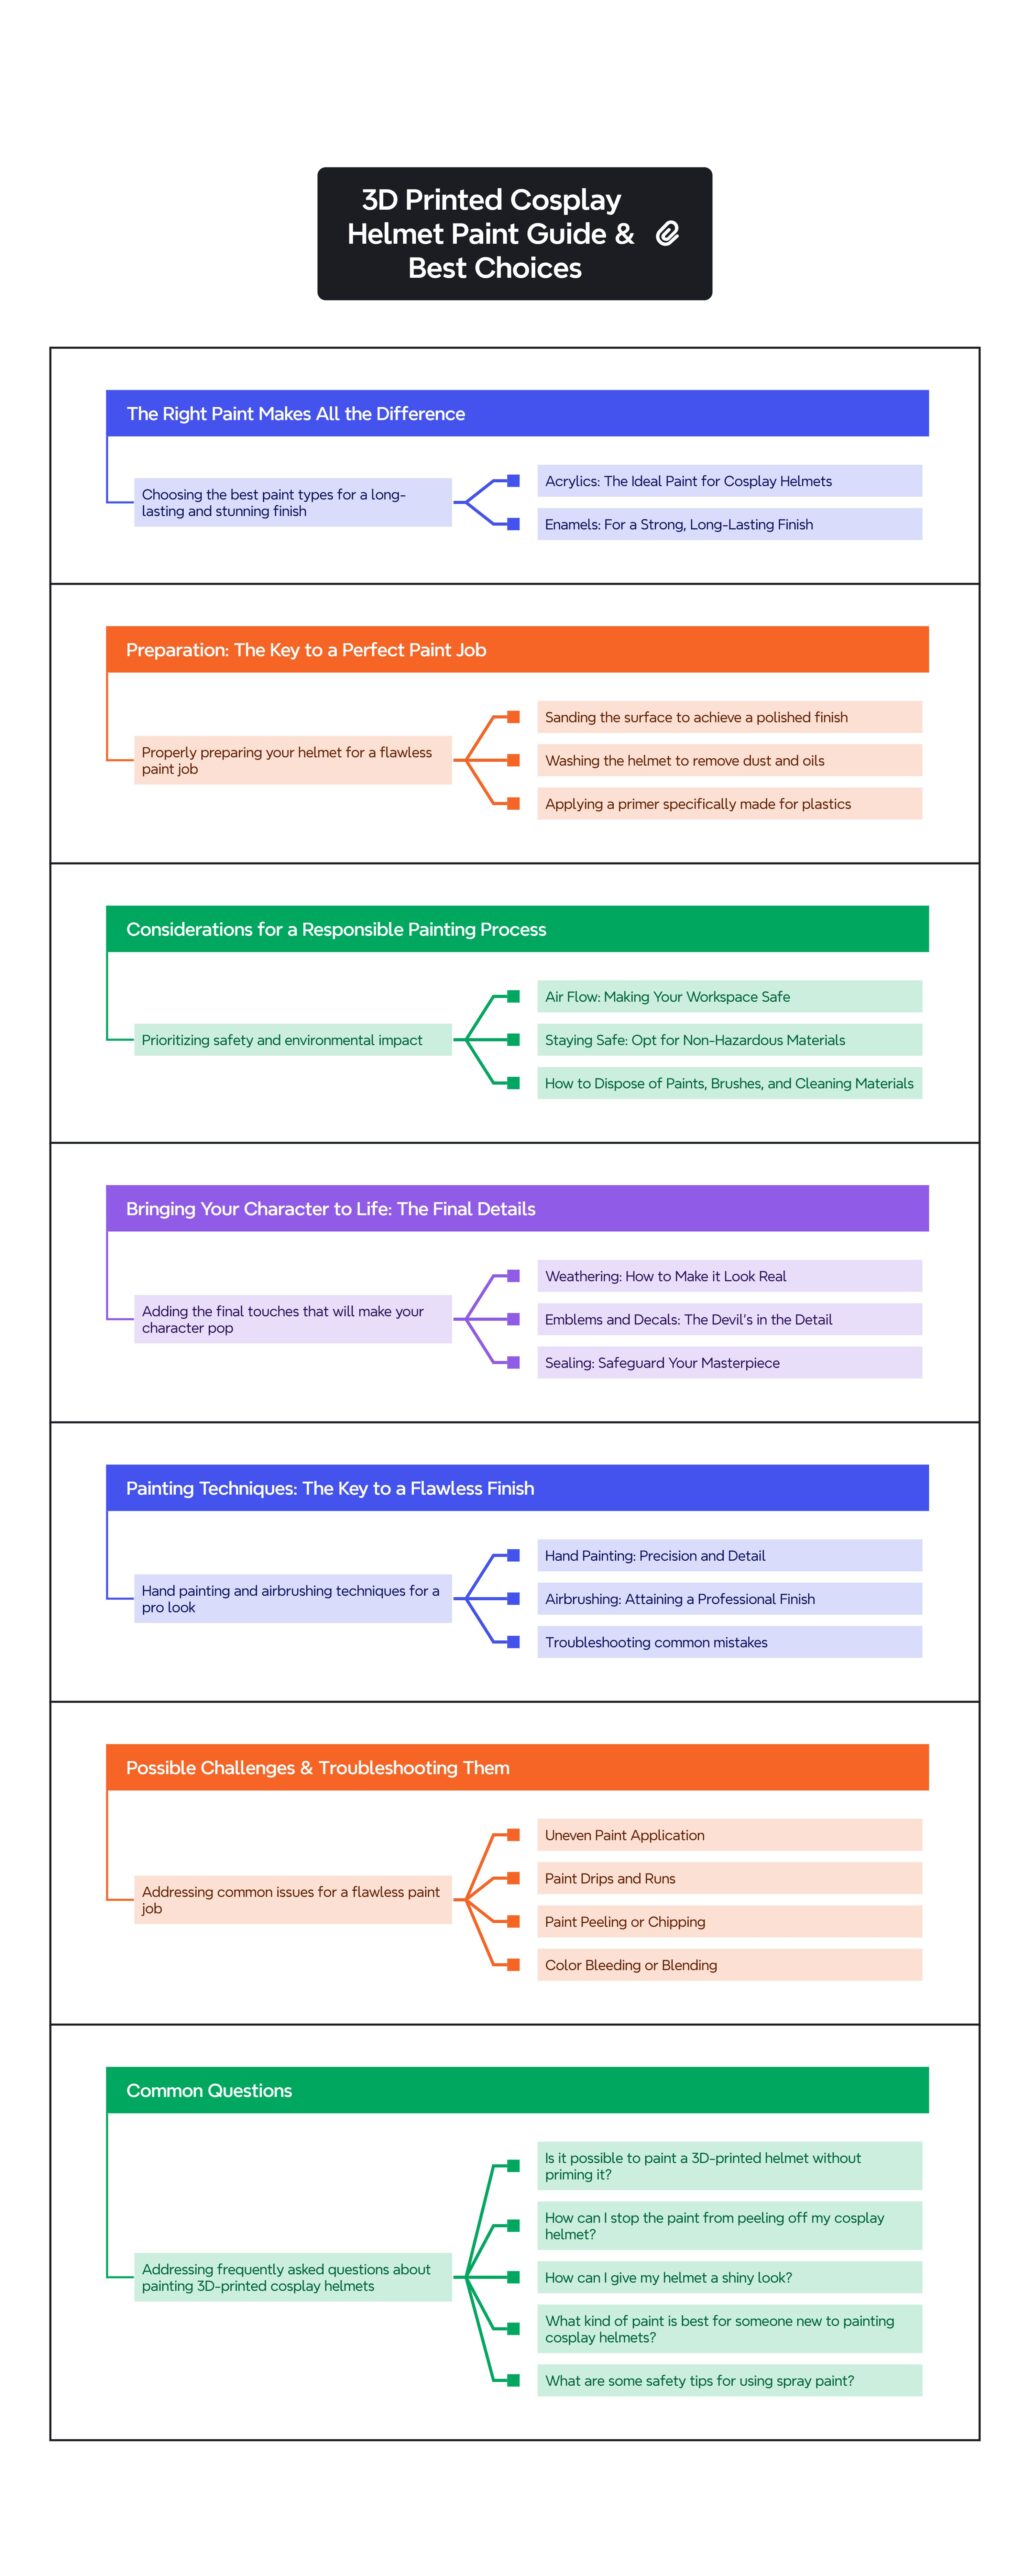
As we wrap up, the following grid provides a structured overview of the key concepts discussed in this post. Use it as a quick reference to reinforce your understanding and explore the connections between the main ideas:


Leave a Reply