
Key Points
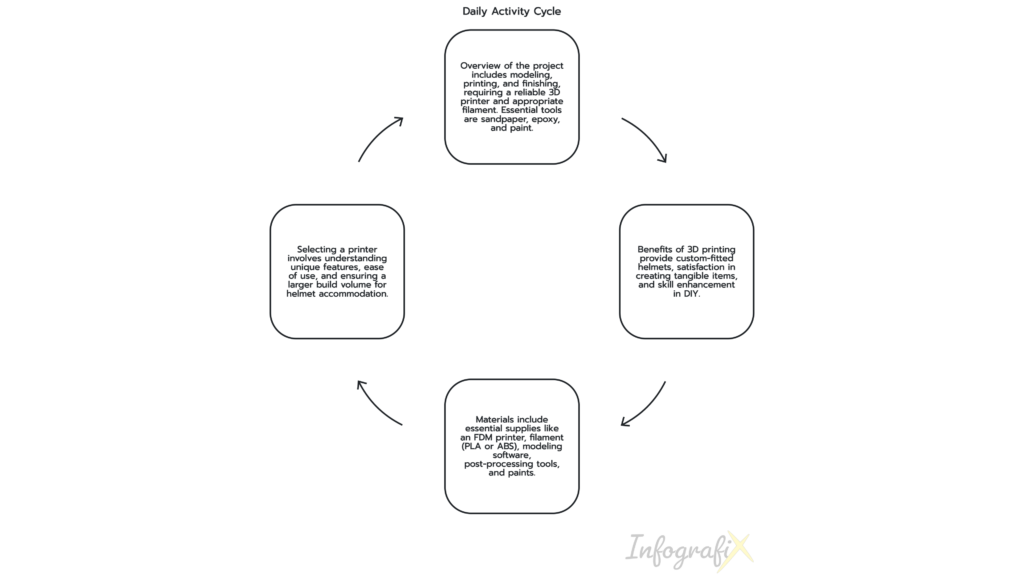
Creating a 3D-printed Mandalorian helmet involves several steps, including modeling, printing, and finishing.
You’ll need a reliable 3D printer and appropriate filament, such as PLA or ABS.
Key tools include sandpaper, epoxy, and paint for the finishing touches.
Software like Autodesk Meshmixer can help modify 3D models for customization.
Creating a Beskar finish requires specific painting techniques to achieve an authentic look.
Creating a 3D Printed Mandalorian Helmet: A Fun Project for Fans
3D printing offers the perfect solution for creating a custom-fitted Mandalorian helmet, allowing for precise details and personalized modifications.
While this project requires a larger 3D printer and some technical know-how, the stunning results are well worth the effort.
There’s an incredible satisfaction in watching your digital files transform into tangible creations.
This exciting project not only allows you to dive into the Star Wars universe but also enhances your DIY skills, resulting in a helmet that’s uniquely yours with an iconic Beskar finish.
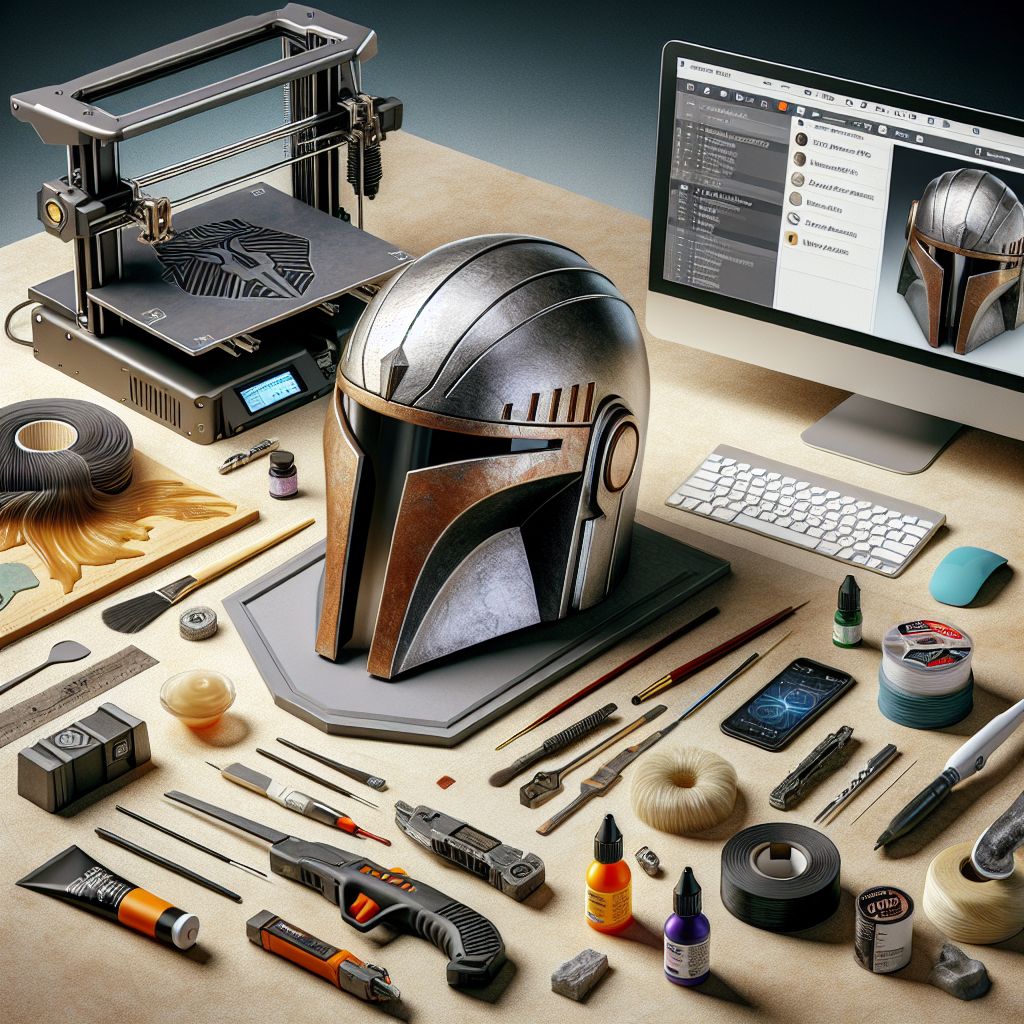
Materials for Your Project:
• 3D printer (FDM type recommended for beginners)
• Filament materials (PLA or ABS)
• 3D modeling software (such as Autodesk Meshmixer)
• Post-processing tools (sandpaper and epoxy)
• Paints and brushes for the Beskar finish.
What You’ll Need to Get Started
Before you get started on your DIY 3D-printed Mandalorian helmet, you’ll need to make sure you have the right supplies and tools. Here’s a closer look at what you’ll need.
Selecting the Ideal 3D Printer
Each 3D printer is unique, and selecting the correct one can have a major impact on your project’s final product. When it comes to printing a Mandalorian helmet, an FDM (Fused Deposition Modeling) printer is typically the best choice. They’re easy to use and readily available, making them perfect for those who are new to 3D printing.
Keep in mind that you’ll need a printer with a larger build volume to accommodate the helmet. Also, be sure to choose a printer that can provide high resolution for the finer details, as this is key to achieving a realistic look.
Top Filaments for Printing Helmets
PLA and ABS filaments are the go-to materials for 3D printing helmets. PLA is user-friendly and less likely to warp, so it’s perfect for those just starting out. ABS is tougher and can withstand heat better, which could be useful if you want your helmet to be a bit sturdier. For more information on materials and techniques, check out this guide on 3D-printing filaments.
Think about where you’re going to be doing your printing. If you’re in a place that doesn’t have good ventilation, you might want to go with PLA because it doesn’t give off as many fumes as ABS. But really, the type of filament you choose is going to depend on what you need and what you have access to.
Post-Printing Tools
Once you’ve finished printing, you’ll need to do some post-processing to make your helmet look sleek and professional. Here are some tools you’ll find invaluable:
Different grits of sandpaper for surface smoothing
Putty or epoxy for gap and seam filling
Brushes and paints for the final touches
Masks and gloves for safety
You will use these tools to perfect the printed pieces, put them together seamlessly, and get the Beskar finish you want.
Creating and Preparing Your 3D Model: A Step-by-Step Guide
Before you can start printing your Mandalorian helmet, you need to have a 3D model ready. This means you’ll need to find a model, potentially make some adjustments to it to fit your needs, and then prepare it for printing. Let’s take a closer look at each of these steps.
Finding a 3D Model
The first thing you need to do is find a good 3D model of the Mandalorian helmet. You can find a lot of free models on websites like Thingiverse that you can download and use. For those looking to dive deeper, check out this 3D-printed cosplay helmet guide for tips and techniques to perfect your model. You want to make sure to pick a model that has a lot of detail because that will make the final product look more real.
“The helmet model I used was posted by wolfhagendesign on Thingiverse. It’s a great starting point for any Mandalorian cosplay project.”
After you’ve chosen a model, download it and get ready to make any necessary modifications. For more insights on creating the perfect helmet, check out this 3D-printed cosplay helmet guide.
Personalizing Models to Suit Your Needs
One of the best parts of 3D printing is its ability to be customized. With software like Autodesk Meshmixer, you can modify the model to make it exactly what you want. This could mean resizing parts, adding your own unique details, or breaking the model into smaller pieces if your printer doesn’t have a large build volume.
This step will require a bit of patience, as it will greatly influence the quality of your final product. Feel free to play around with different adjustments until you’re happy with the design.
Editing Tools
Autodesk Meshmixer is a great software for editing 3D models. It lets you make exact changes and optimize your model for printing. Other software options are Blender and Tinkercad, each with its own features and user interfaces. For more advanced tips and techniques, check out this 3D-printed cosplay helmet guide.
Pick a tool that you’re at ease with, and if you’re a novice to 3D modeling, make sure to adhere to tutorials. Grasping the software will enable you to make the most out of your 3D printing ventures.
Bringing Your Helmet to Life: A Guide to 3D Printing
Once you’ve perfected your design, it’s time to make it a reality. This is where the magic happens, as your digital creation becomes a physical object. However, to make sure everything goes smoothly, you need to know the ins and outs of 3D printing techniques and settings.
Start off by making sure your printer is in top shape. Clean off the build plate, double-check the filament feed, and make sure the printer is calibrated. This will help prevent any issues during the printing process. The more you prepare now, the fewer problems you’ll run into later.
Getting Your 3D Printer Ready
There are a few important steps to take when getting your 3D printer ready. First off, make sure you’ve loaded your filament correctly and that it’s feeding into the extruder without any hitches. Then, you’ll want to adjust the build plate to ensure it’s level. This is crucial for preventing warping and making sure each layer sticks the way it should. For more detailed instructions, check out this 3D Printed Mandalorian Helmet guide.
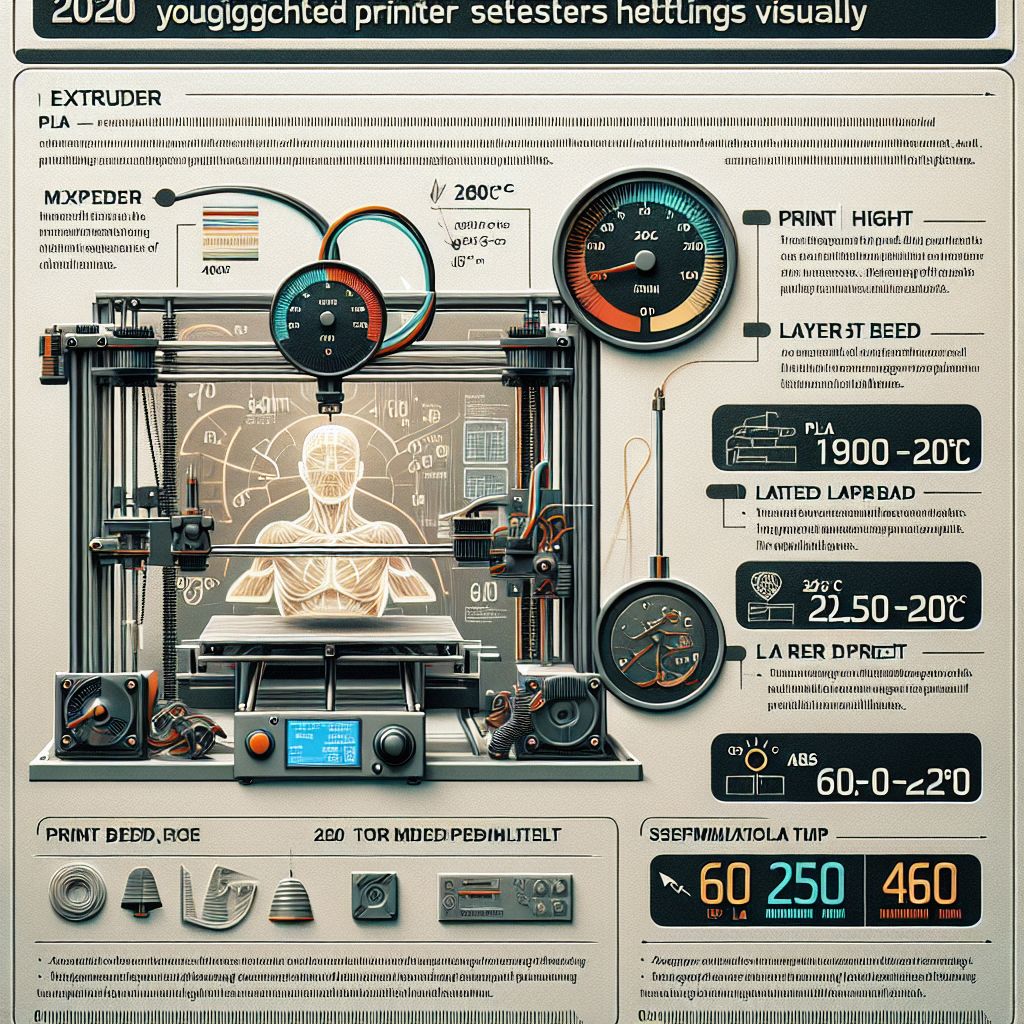
Suggested General Printer Settings:
Temperature and Speed:
Extruder Temperature: For PLA, suggest a range of 190-220°C; for ABS, 230-250°C.
Bed Temperature: For PLA, around 60°C; for ABS, 90-110°C.
Print Speed: Recommend a speed of 40-60 mm/s for detailed prints like helmets.
Layer Height: Reiterate the 0.1mm to 0.2mm range for a balance of detail and print time.
It’s important to remember to preheat your printer to the temperature that’s recommended for the type of filament you’re using. This will ensure that the material is flowing smoothly and will help to prevent any clogs. When you’re 3D printing, a printer that’s been properly prepared is your best ally.
Setting the Layer and Resolution
When printing a Mandalorian helmet, the quality of the print is heavily dependent on the layer settings and resolution. You want to find a happy medium between the amount of detail and the time it takes to print. A layer height of 0.1mm to 0.2mm is usually the sweet spot, as it provides a good balance between the two. For more insights, you can explore this 3D-printed cosplay helmet guide.
Think about the density of the infill. More infill gives more strength, but it also increases the time it takes to print and the amount of material used. For a helmet, an infill of 20% to 30% is typically enough. These settings will help you print something that’s both detailed and durable.
Typical Printing Problems and How to Solve Them
Despite thorough preparation, you may run into some problems while printing. Some of the usual suspects are warping, layer shifting, and stringing. Warping happens when the print doesn’t cool down evenly, which makes the edges lift. You can prevent this by using a heated bed and keeping the print environment steady.
If you notice layer shifting, it’s likely due to mechanical problems like loose belts or a wobbly build plate. Regular upkeep and calibration can help prevent this. Stringing, on the other hand, is usually caused by incorrect retraction settings. You can adjust these in your slicing software to help reduce unwanted filament trails. For more on achieving perfection in your 3D prints, check out this 3D-printed cosplay helmet guide.
Putting it Together and Sanding for a Sleek Look.
After you’ve printed the parts of your helmet, it’s time to put it all together. This will require you to carefully connect the pieces and then sand it all down to get a sleek finish. This step requires patience and a keen eye for detail.
Putting Together the 3D Printed Pieces
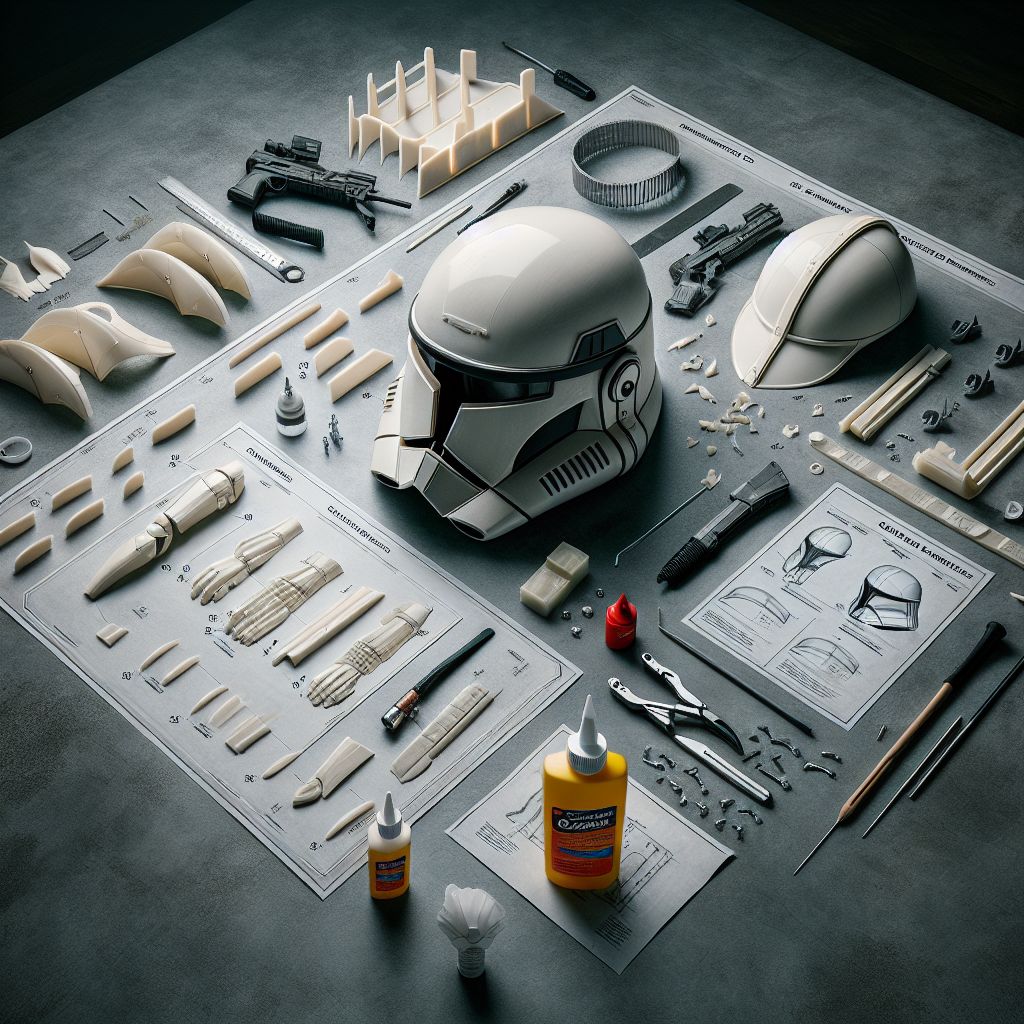
Begin by laying out all the 3D-printed pieces and figuring out how they connect to each other. A powerful adhesive like epoxy should be used to attach the pieces. Use the glue sparingly to avoid having too much that could ruin the surface. Keep the pieces in place until the adhesive dries, using clamps if needed.
Patience is key in this phase because a meticulously constructed helmet will be sturdier and will have a more polished appearance. After the assembly is complete, the next step is to smooth out the seams.
Filling Seams with Epoxy and Putty
Seams and gaps can ruin the look of your helmet, so you should take care of them. You can fill any obvious gaps between parts with epoxy or putty. Make sure you apply it carefully and smooth it over with a putty knife or even your fingers.
Let the epoxy or putty completely dry before moving on to the next step. This will give a strong base for sanding and painting and will ultimately improve the final look of the helmet.
How to Sand for a Sleek Finish
Sanding is an essential step in achieving a sleek, professional-looking finish. Begin with rough-grit sandpaper to eliminate significant blemishes and slowly transition to finer grits for a glossy finish. To prevent creating grooves, sand in circular motions. For more advanced techniques, explore advanced 3D-printed cosplay helmets to enhance your craftsmanship.
When working on the fine details, it’s best to use small sanding tools or even a rotary tool with a sanding attachment. Remember to take your time and be meticulous, as this will greatly affect the quality of your final paint job.
How to Create the Beskar Finish: A Step-by-Step Guide to Painting
The Beskar finish is the magic touch that makes the Mandalorian helmet look real. It requires applying several layers of paint to create the metallic, weathered appearance that fans love. Here’s a step-by-step guide on how to create this signature finish.
Applying Primer and Base Coat
Start off by applying a primer all over the helmet. This will make the paint stick better and give a uniform base. Use a spray primer for even coverage, and apply several thin coats, letting each one dry completely before applying the next.
Here’s a summary table of recommended paint brands and types for achieving a Beskar finish:
|
Paint Type |
Recommended Brands |
Notes |
|---|---|---|
|
Primer |
Rust-Oleum, Krylon |
Reliable options for a solid base coat. |
|
Metallic Paint |
Tamiya, Vallejo |
Tamiya offers superior airbrush quality; Vallejo provides a wide color range and is great for both airbrushing and hand brushing4. |
|
Metallic Wax/Rub |
Rub ‘n Buff |
Ideal for adding shine and depth to metallic finishes. |
These brands are well-regarded in the modeling community for their quality and effectiveness in creating realistic finishes.
After priming, put on a base coat of dark metallic paint. This will be the base for the Beskar effect. Pick a paint that has a real metallic shine, and put it on evenly over the surface of the helmet.
Adding Metallic Layers
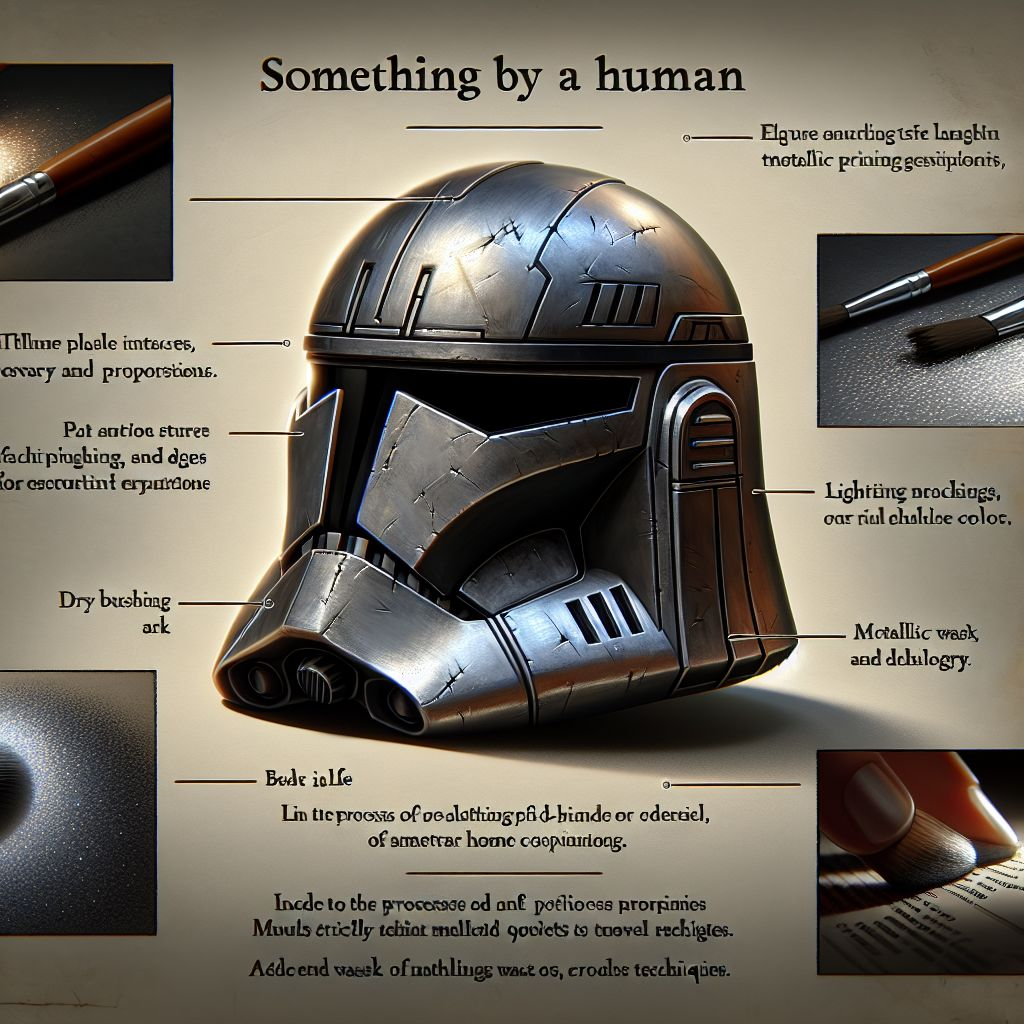
Once you’ve applied your base coat, you can start to create some depth with more metallic layers. Use a lighter metallic paint to make raised areas and edges stand out, making it look like light is bouncing off the metal. Dry brushing is a great technique for this, as it lets you build up the layers slowly.
If you want to make it look more real, try using a metallic wax or rub to add some shine. You can put it on lightly in places where it would naturally get worn down to make the helmet look more genuine.
Giving Your Helmet a Realistic Finish
The final step in making your helmet look genuine is weathering. By combining washes and dry brushing, you can create shadows and highlights. To make it look like your helmet has been through some tough times, apply a black or dark brown wash to the crevices to mimic the build-up of dirt and grime. For more on techniques, explore cosplay helmet craftsmanship.
By using a lighter color, dry brushing can imitate scratches and scuffs. Remember, the aim is to create a look that is worn and battle-hardened, one that tells a tale. Don’t hesitate to try out different techniques until you get the effect you want.
Once you’ve finished painting, your Mandalorian helmet is ready to show off. Whether you’re using it for cosplay or just want to display it, this project shows off your creativity and skills. Enjoy the process, and be proud of your work!
Making Your Helmet Stand Out with Special Details
Building a Mandalorian helmet is only step one. Making it stand out with special details can take your project to the next level, making it truly your own. Whether you’re including tech upgrades or comfort details, personalizing allows you to make the helmet just the way you like it.
Enhancing Your Helmet with electronics
For those looking to add an extra layer of authenticity to their Mandalorian helmet, consider incorporating electronics such as LEDs or voice modulators. These devices can modify your voice to mimic the Mandalorian, enhancing your cosplay experience. While this addition can elevate your project, it requires some basic knowledge of electronics and safety precautions. Check out this comprehensive tutorial for a detailed guide on installing electronics in cosplay helmets.
Adding Padding for a Comfortable Fit
If you’re planning to wear your helmet for long periods, it’s important to make it as comfortable as possible. One way to do this is by adding interior padding. Foam padding is a great choice because it’s light and comfortable. Just line the inside of the helmet with it. For more on foam techniques, check out this cosplay helmet craftsmanship guide.
Take measurements of the inside of the helmet and cut your foam to match. Stick it down, making sure there are no gaps or bits that aren’t stuck down properly. The padding should fit tightly to your head, providing comfort and ensuring the helmet doesn’t move around. For more detailed guidance, check out this 3D-printed cosplay perfect-to-fit helmet guide.
Staying Safe and Following the Best Practices
DIY projects, such as creating a Mandalorian helmet, require careful attention to safety. Whether you’re using tools or handling chemicals, following these guidelines will ensure a safe and enjoyable crafting experience:
• Wear appropriate safety gear (gloves, safety goggles, and respirator mask)
• Work in a well-ventilated area, preferably outdoors or in an open garage
• Follow manufacturer guidelines for all tools and materials
• Keep your workspace clean and organized
• Handle chemicals and sharp tools with care
Proper ventilation is essential not only for your health but also for achieving the best results. Good airflow prevents harmful fume inhalation and helps paints and adhesives dry correctly. If working indoors, ensure adequate ventilation or use a respirator mask when handling chemicals.
Learn more about ventilation, safety, and material health considerations in our safe 3D-printing guide for more detailed guidance.
Wrapping Up: Giving Your Mandalorian Helmet a Heartbeat
Finishing a 3D-printed Mandalorian helmet is an exceptional accomplishment. You’ve melded imagination, technical prowess, and a love for the Star Wars universe to craft something genuinely unique. Show off your helmet with pride, whether you’re using it for cosplay or keeping it as a collector’s piece. If you’re interested in exploring the art of cosplay more, check out this article on self-expression and craftsmanship in cosplay.
Cheers to Your Artistry
You should be proud of your accomplishment. Pause momentarily to acknowledge the time and energy you’ve invested in this project. Each phase, from the design to the painting, has resulted in a work of art that is distinctly you.
“Building a Mandalorian helmet is not just about the end result; it’s about the process and the skills you learn along the way.”
Enjoy your hard work by showing off your helmet to your friends, family, and fellow fans. Your creation is a testament to your imagination and perseverance.
Show off Your Creation to the World
Connect with other DIY and cosplay fans by sharing your journey. Upload pictures of your helmet on social media, use the hashtag #Cosplay3DPrint, and participate in online discussions to share advice and brainstorm with other hobbyists.
Not only does sharing your work inspire others, but it also provides you with the opportunity to receive feedback and learn from the experiences of your fellow creators. Embrace the spirit of community and continue to explore new projects and techniques.
Common Questions
As you begin your quest to craft a Mandalorian helmet, you may find yourself with a few questions. Here are some answers to common questions that can assist you on your journey.
Which printer should I use for this project?
When you’re making a Mandalorian helmet, you’ll typically want to use an FDM (Fused Deposition Modeling) printer. These printers are widely available and affordable, and they can create detailed prints that are perfect for cosplay.
Make sure your printer has a build volume that is big enough for the helmet parts.
Choose printers with high-layer resolution for detailed results.
Think about the support and community resources available for troubleshooting and advice.
Picking the right printer can greatly affect the quality of your project, so spend time researching and choosing a model that suits your needs and budget.
This guide will set you on the path to creating a fantastic Mandalorian helmet. Don’t forget, the important thing is to have fun and learn as you go. Enjoy your crafting!
Tell Us Your Story
We hope this guide has sparked your creativity to make your own unique cosplay helmets. For more inspiration, check out our article on cultural and historical design inspirations. Share your journey, ask any questions, and post pictures of your finished helmets on social media using #Cosplay3DPrint.
Did you find this guide useful? If so, please pass it along to your friends and fellow cosplayers. Also, subscribe to our newsletter to get more tutorials and tips.
We appreciate you being a part of our imaginative community. Keep creating and enjoying!
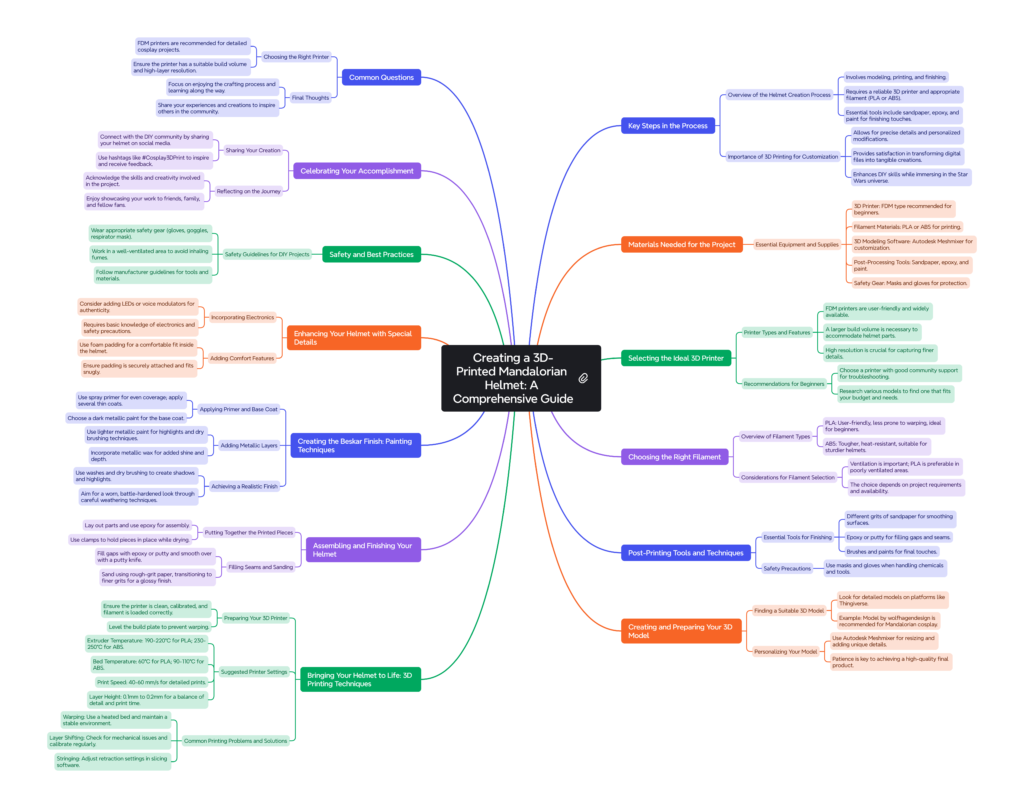
As we wrap up, the following grid provides a structured overview of the key concepts discussed in this post. Use it as a quick reference to reinforce your understanding and explore the connections between the main ideas:



Leave a Reply